Showing posts with label sculpt. Show all posts

Jun 20, 2016

Anatomic Study - Skull - 1:2 3D Print

Hey guys, I print my skull. Turn out very well. As a first try with his 3d printer my friend did a pretty good job. I plan to order few skull of various size (1:3-1:4) to be able to have a variety of skulls.

Now time to sand it and mold it to cast a variety of material.

I did it at first to get a good base for my 1:2 sculpted busts. I don't see a lot of character busts of that size around. So maybe I can be unique in a geek convention and sell few? who knows

Aug 6, 2015

T-Rex 1:14 scale: Wip 001


I mess up my length on that armature. The stand was to far in the body, the head would fall with the weight. So I decide to cut it (the head). Any way it's better that way to sculpt details on the head itself. I cut the jaw off the armature so I would be able the sculpt under it more easily. I based myself on my references of course, but I aim for a Jurassic Park look.


Jul 27, 2015

T-Rex 1:14 scale

àGuess what after seeing Jurassic World and some Nostalgic Critic about the Mother F*cking TRex I felt in love with my old love: The Mother F*cking T-Rex!

Tradionnal sculpting in 1/14 scale (about 30 inches long). Decide that scale so I can do relative vehicules or humans in the same scale without doing to big vehicule or to same head. 6 feet human would be 5.14 inches tall.

I also start the bake some cutsom tool for the T-Rex skin in Fimo clay. You can see the tool in black next to my waxer.

May 9, 2015

WIP Sculpts

Since last year I start many projects. Today since I was photoshooting refs, I took the time to photoshoot all my work-in-progress sculpts. Some are not feauturing there because I choose to switch to digital art instead: Captain Harlock ship replica: Arcadia.

May 4, 2015

Arnold 1.3: WIP 001

It's a start. I did start a 2 feet tall armature for my Arnold but for sculpting head i'm better doing it in a bust format first. That way, I will have a Bust format and a full body format, by sculpting one head.

I don't plan getting him a pose in the full body. Since that version will be the nuked T-800 model 101 when his arrive and raise from his timesphere in Terminator 2, I don't really need a pose.

With that bust, I would be able to replicate every Arnold characters from the 80-90'. I though maybe I should start doing a serie of busts of Iconic Characters from the movies. Starting by Arnold of course, but I have a nice list in my head.

Nov 8, 2014

Amon : WIP 002

Slowly but surely, I try to detail more that figure. Hard to find time, when you have two deliveries on two project at work.

So here's my work-in-progress no.2. I close to block every shape and silhouette. Need to add the shoulders and knees pads, and also to change the hands so I have an armature of them.

Nov 1, 2014

Amon : WIP 001

I'm currently blocking the silhouette of Amon. Using the Casteline Hard for the body and Cx5 for the mask, just because I want to separate the two parts.

Also bought a Magnifier lamp to light my station and to help me with the future details.


Oct 27, 2014

Legend of Korra: Amon - 1:6 scale


I start a new project. Since there is no Legend of Korra figures yet, I want to do my tribute to the show by doing a 6 scale of the book One villain: Amon

Easy enought because he wear a mask.

I start the armature yesterday. Separating the arms with brass tubing. A bit of cutsom part: the floor flange is custom made because I couldn't find a single flange who fit 1/8 inch. I made a mold of that, so future flange can be made. I also create a mold to do a custom "attach core" the hold the figure to my 1/8 pipes stand.

Oct 5, 2014

New Goals in 2015

Some people wait for New Year to start some resolution or goals. Not me, I plan in advance. In January, I will start a new contact at MPC Montreal. Hopefully better salary too, So I will invest in my future with it.

A part of trying to have a Comic-con booth next year, I will aim for a 3D printer. I want to start combine my two skills: Digital modeling and tradional scultping. So with a good printer I will be able to export more hardedge mechanical and symmetrical object that will be combine with my Casteline sculpt.

Reproducing a simple form in tradional sculpting would mean doing a mold for it and cast it. I prefer 3D print a car wheel four time beside doing a small mold for it.

So which printer to buy. These day Desktop 3D printer are so versatiles in resolution and price.

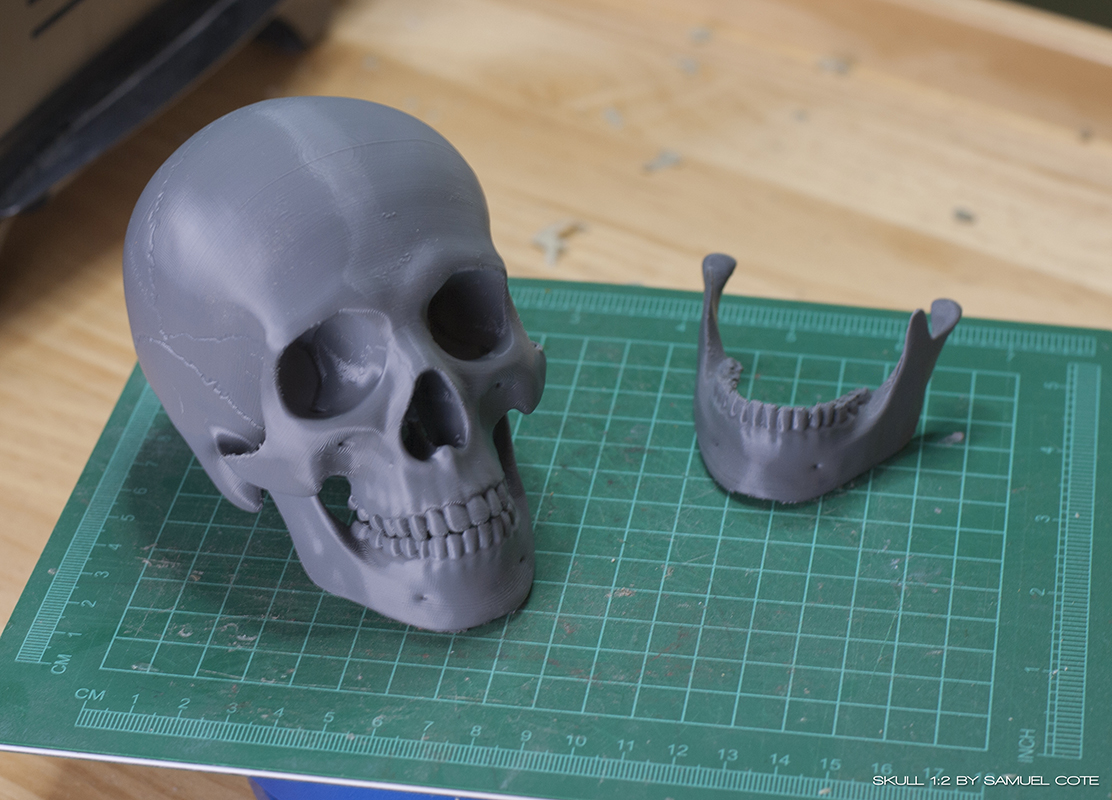
 I order some simples from some compagny to see the quality that I can have.

I could use a printer like the Kickstarter one printing with filaments like Solid Doodle (600$) but the resolution is awful.

I thought go for a 3D printer for Jewelry They print in wax, perfect resolution, but it like 26000$. The technique use: Stereolithography

Last year, a new challenger came to live in a Kickstarter campaign: Form 1+ from Formlab. Price: 3300$ but what a perfect resolution for my use. This a Stereolithography technology printer and it printer in resins. It print in the resin liqud and a laser hit the spots that need to be solidify.

Because all final printed models need to be clean or sand, I found that the Stereolythography technology is better for me and need less post-work.

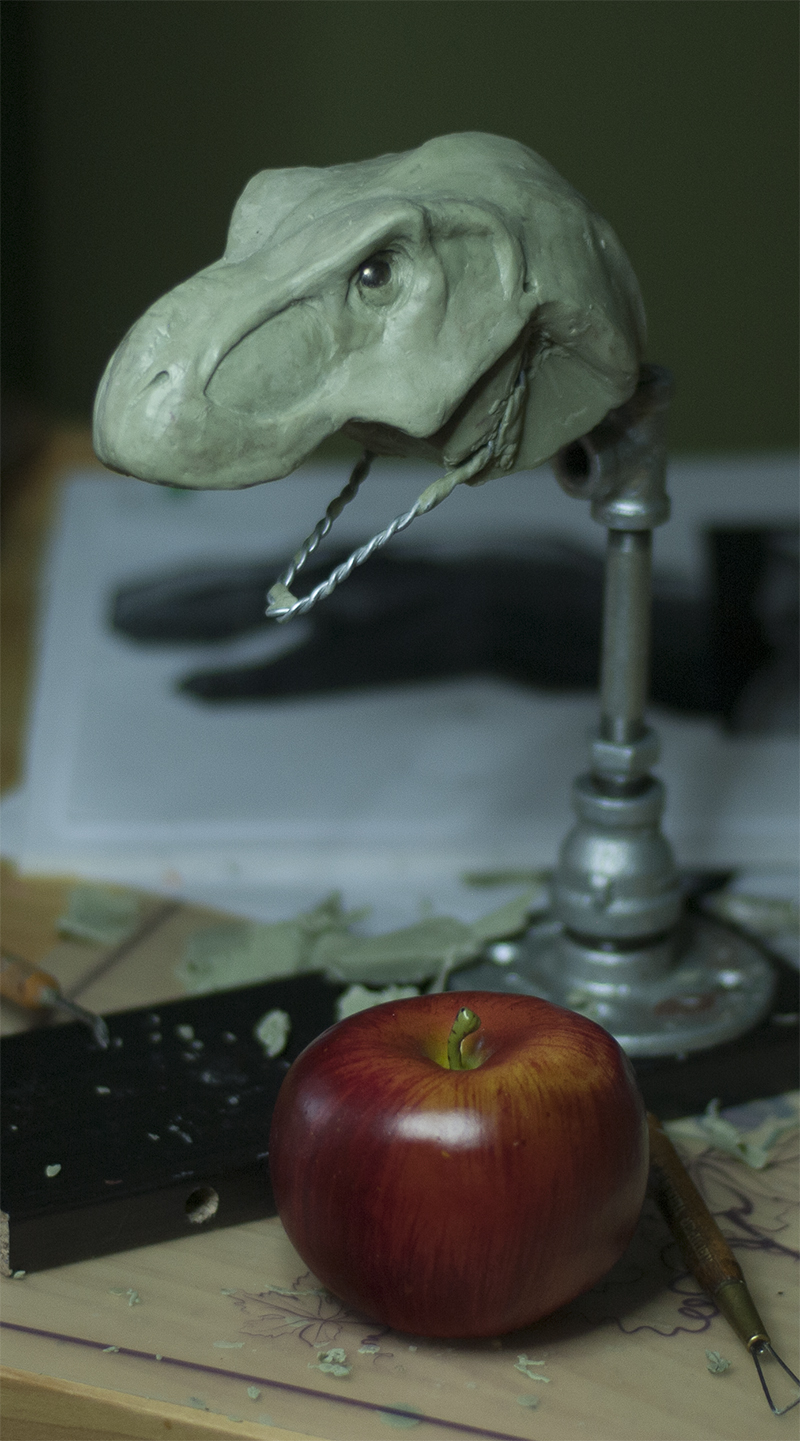
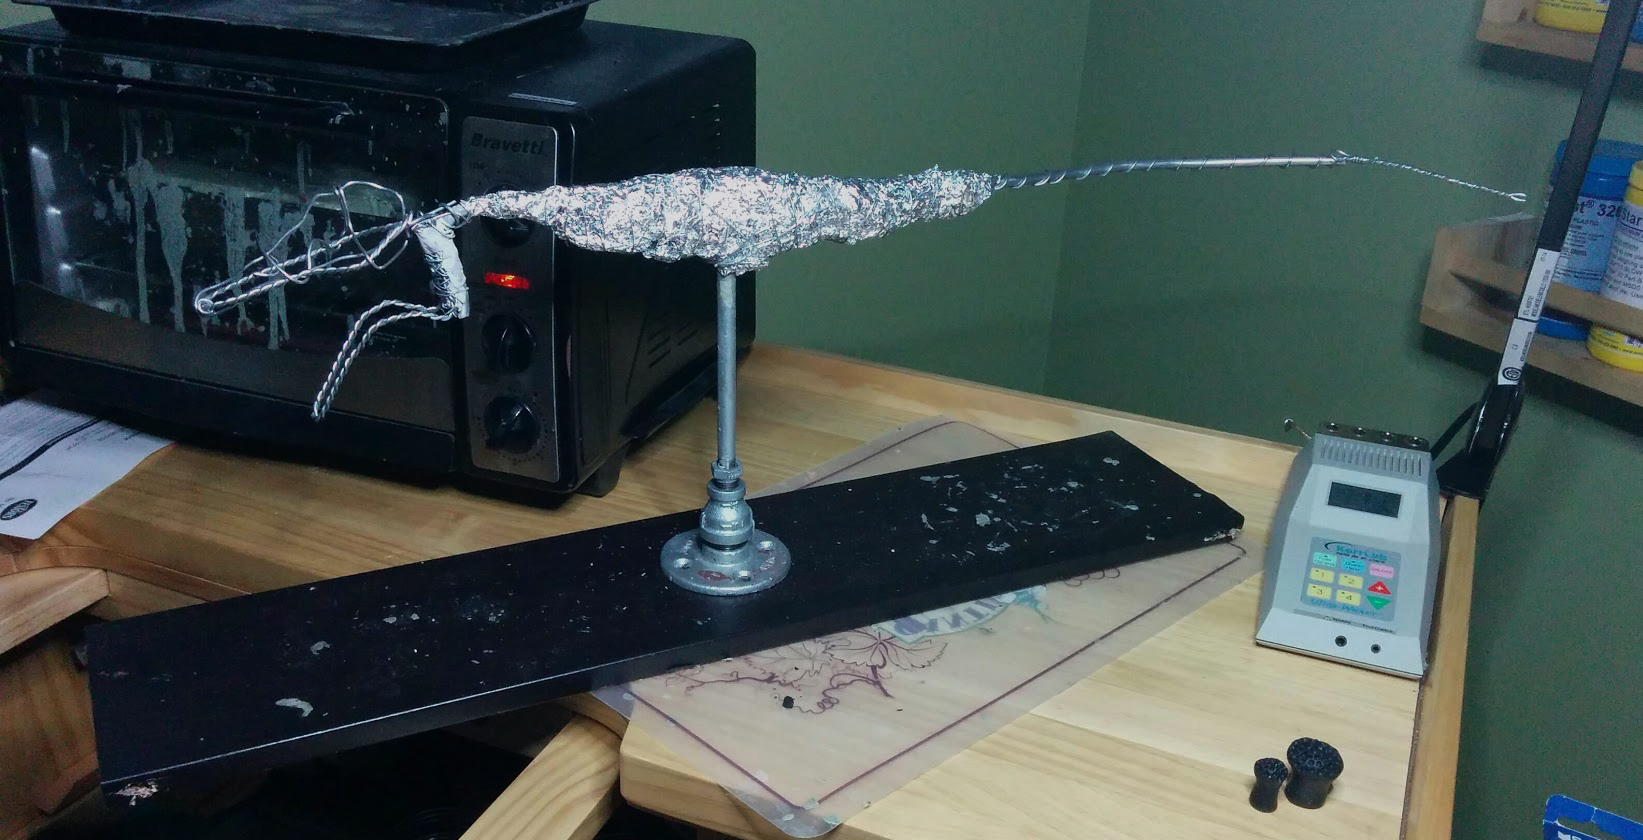
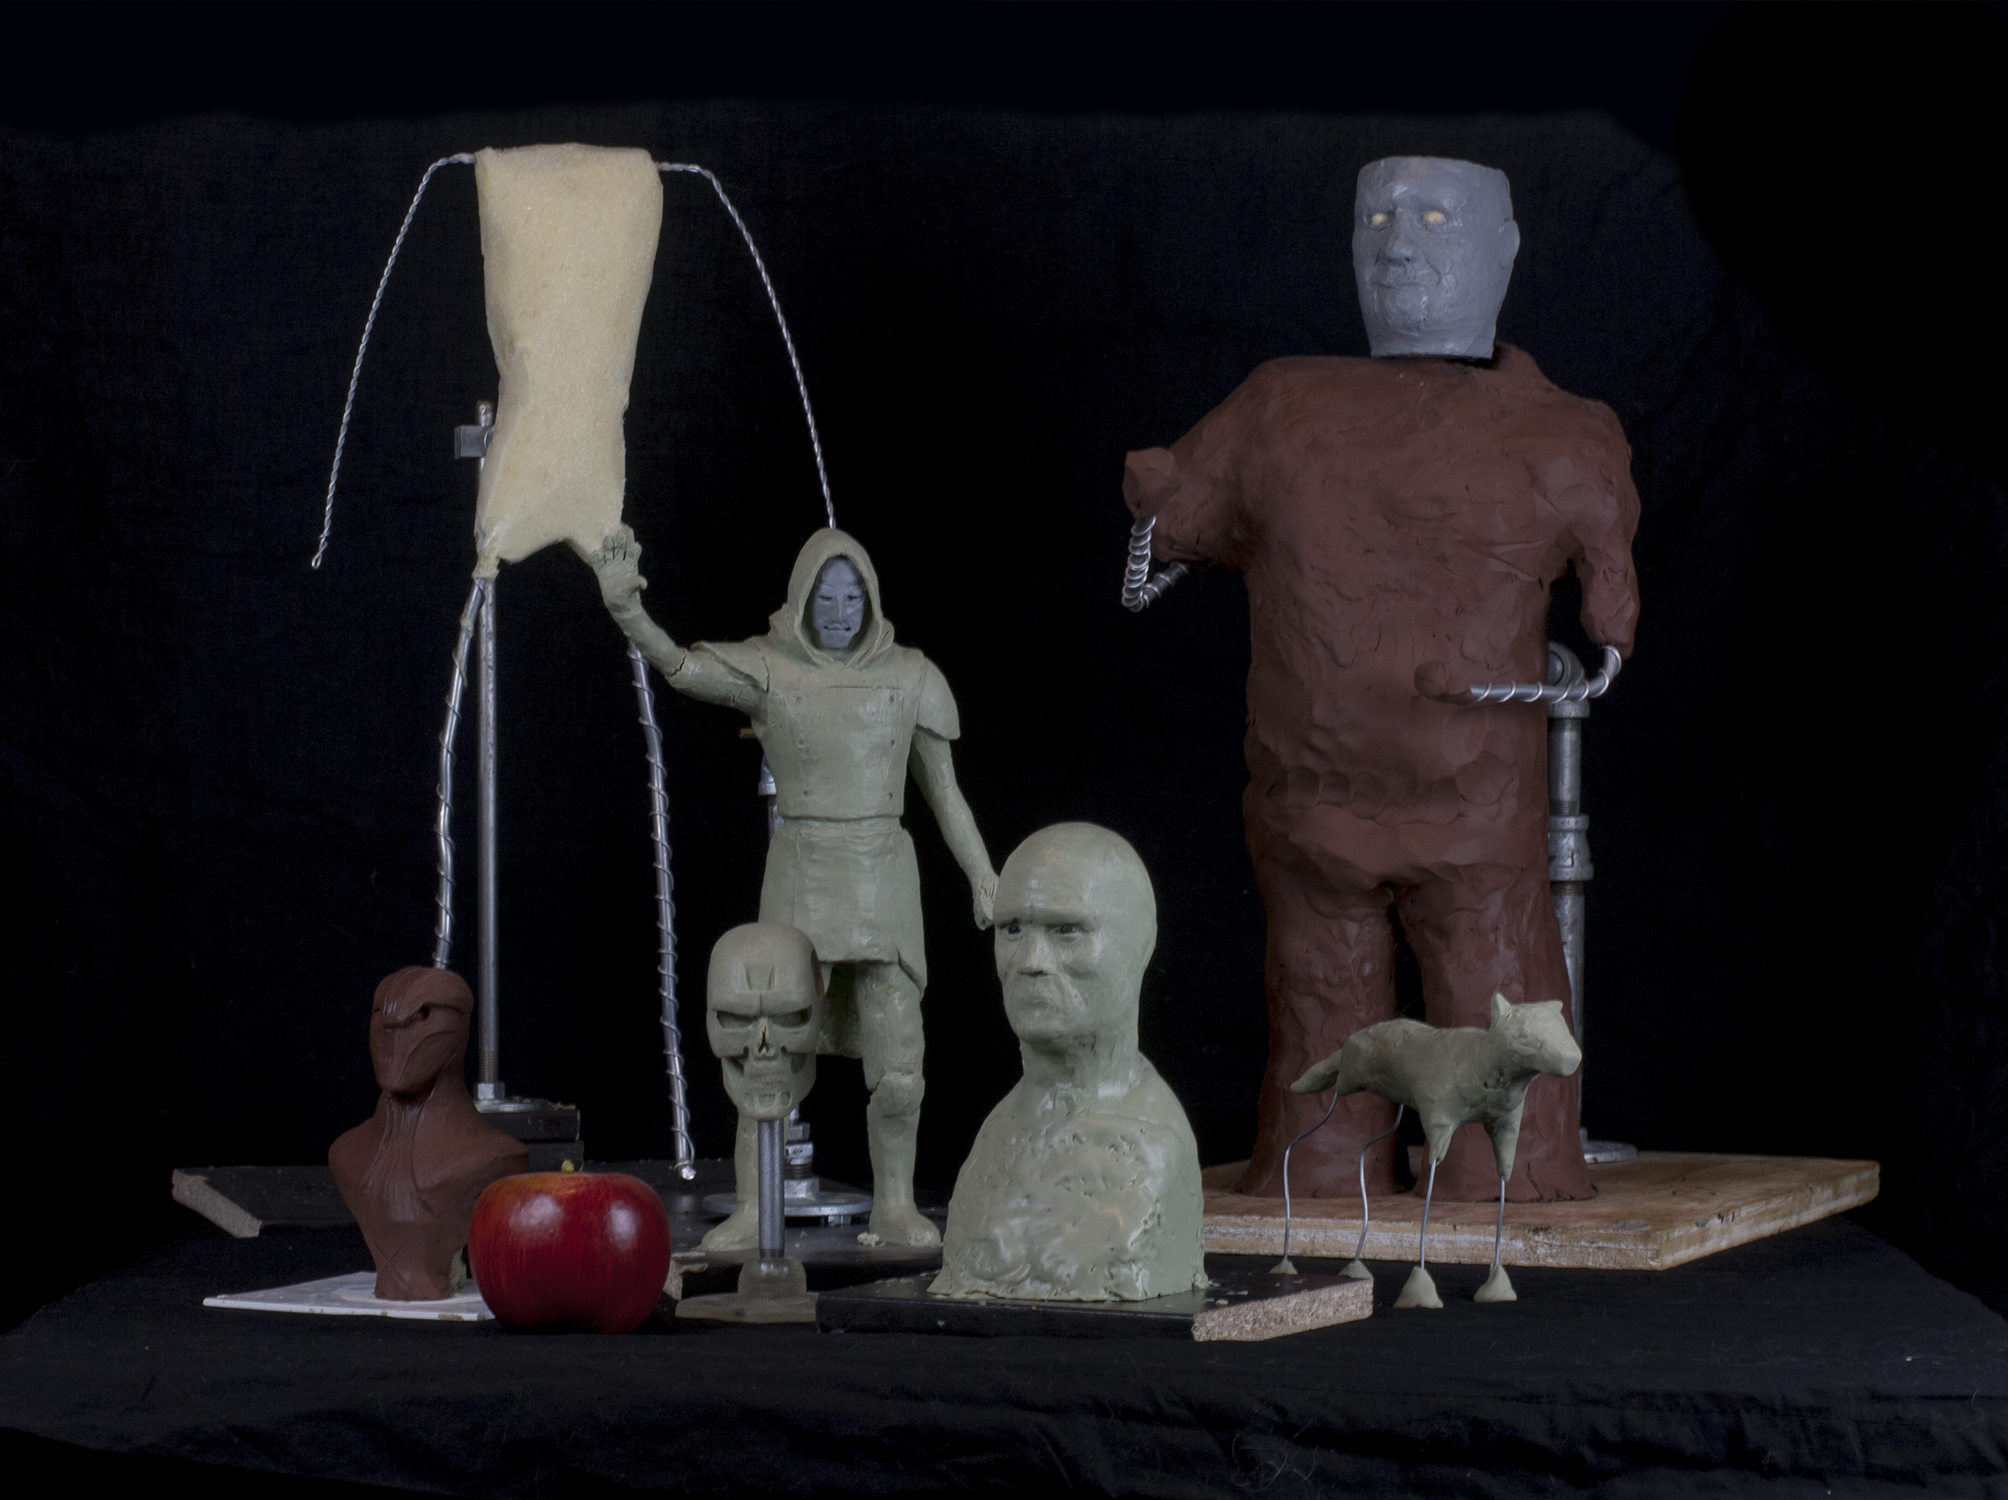
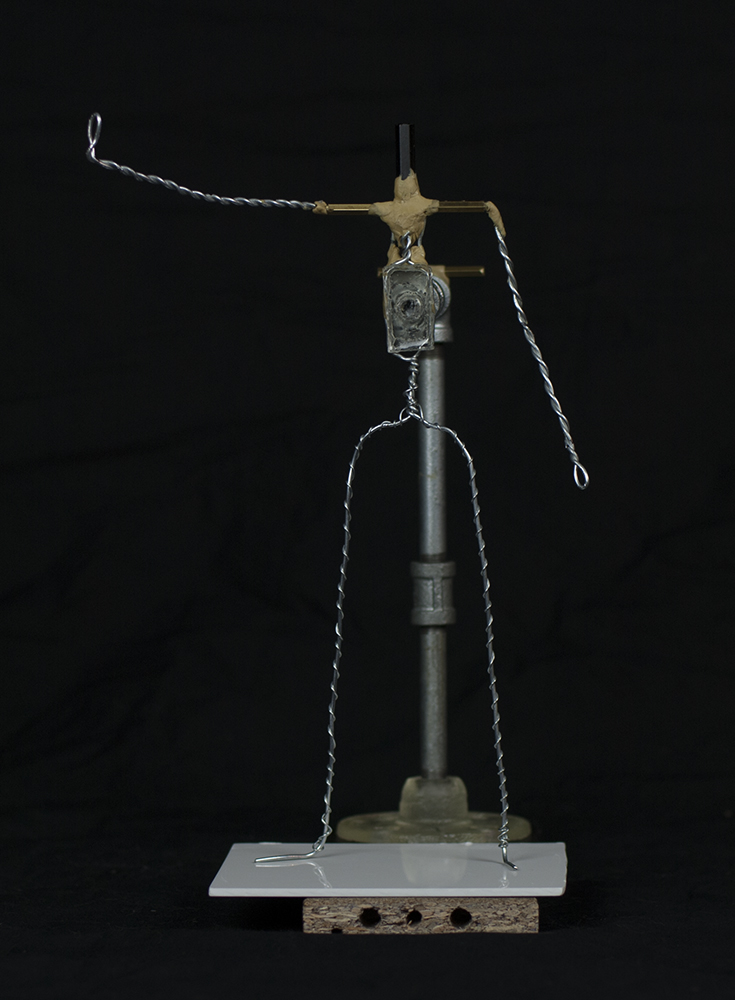
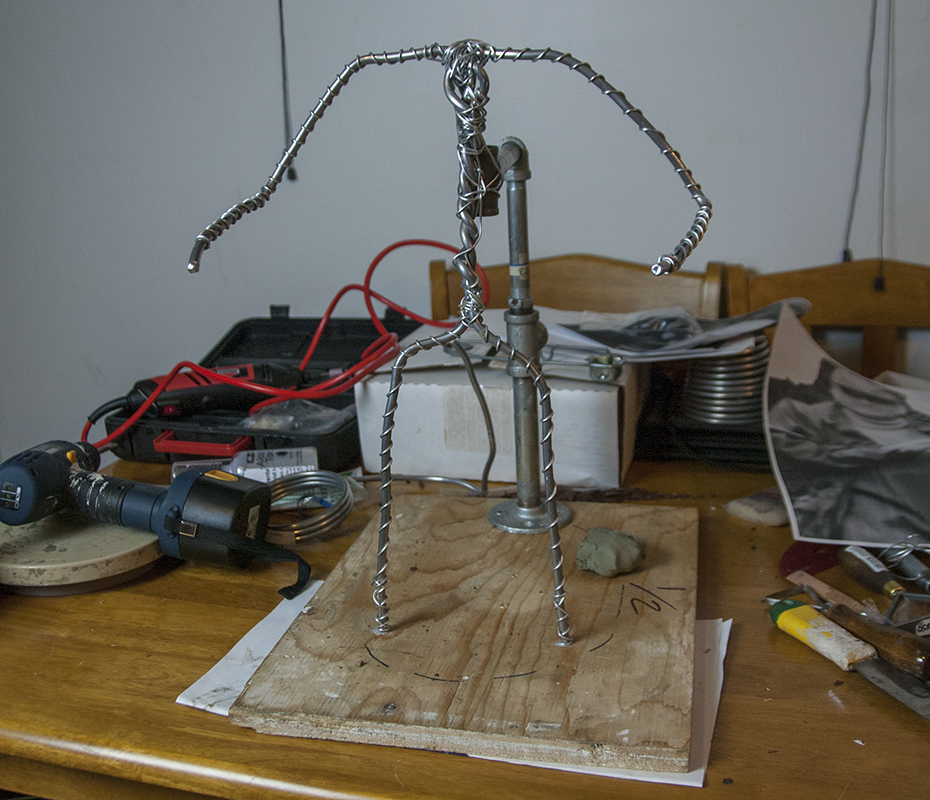
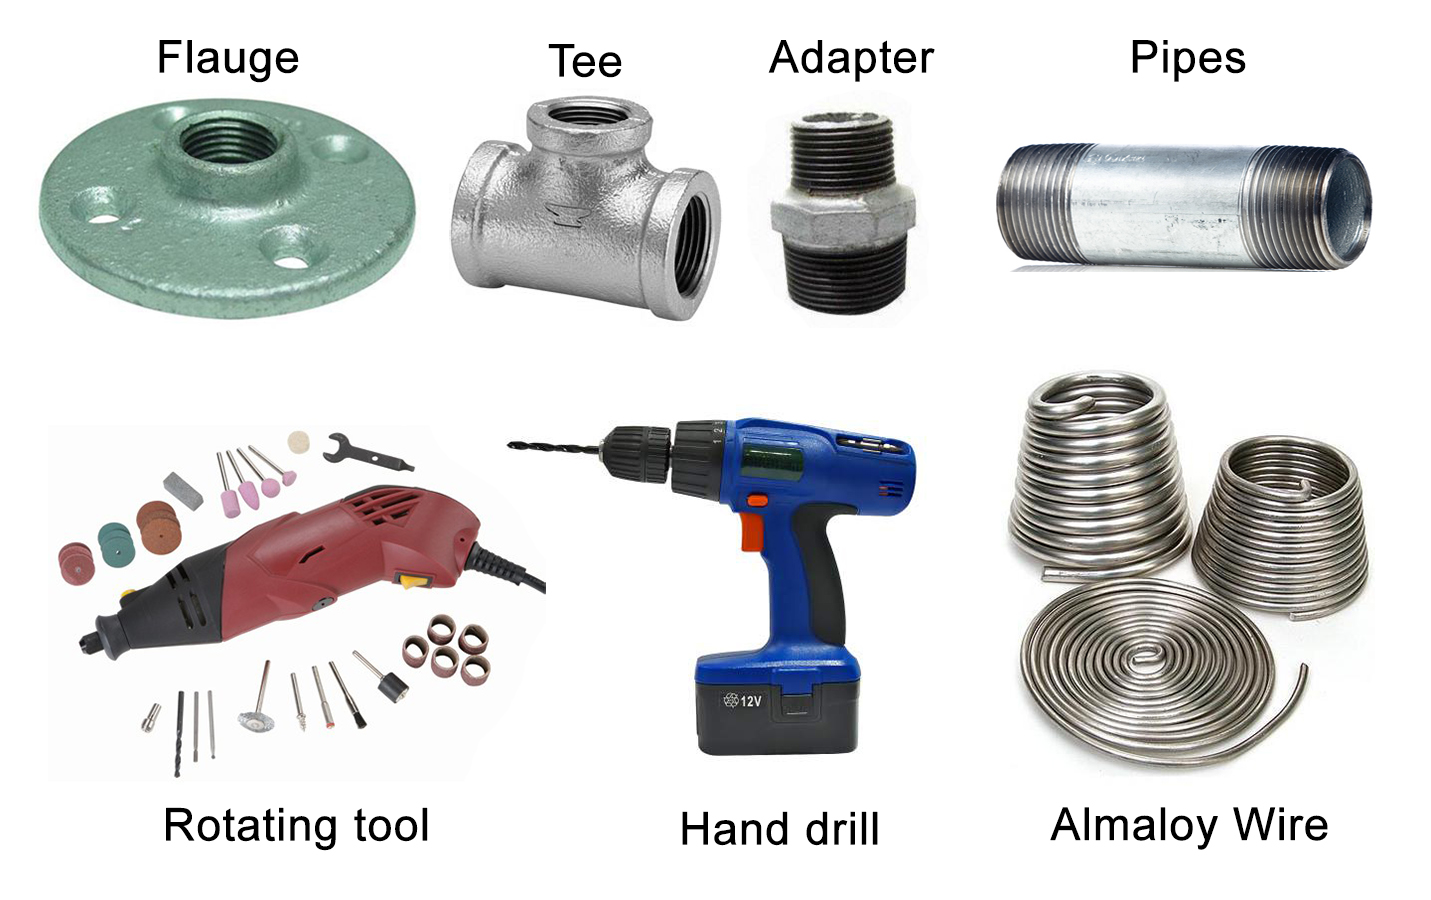
Today, I start my new project made of Casteline: A wolve in 1:9 scale. I build the armature and will out the wax or it soon.

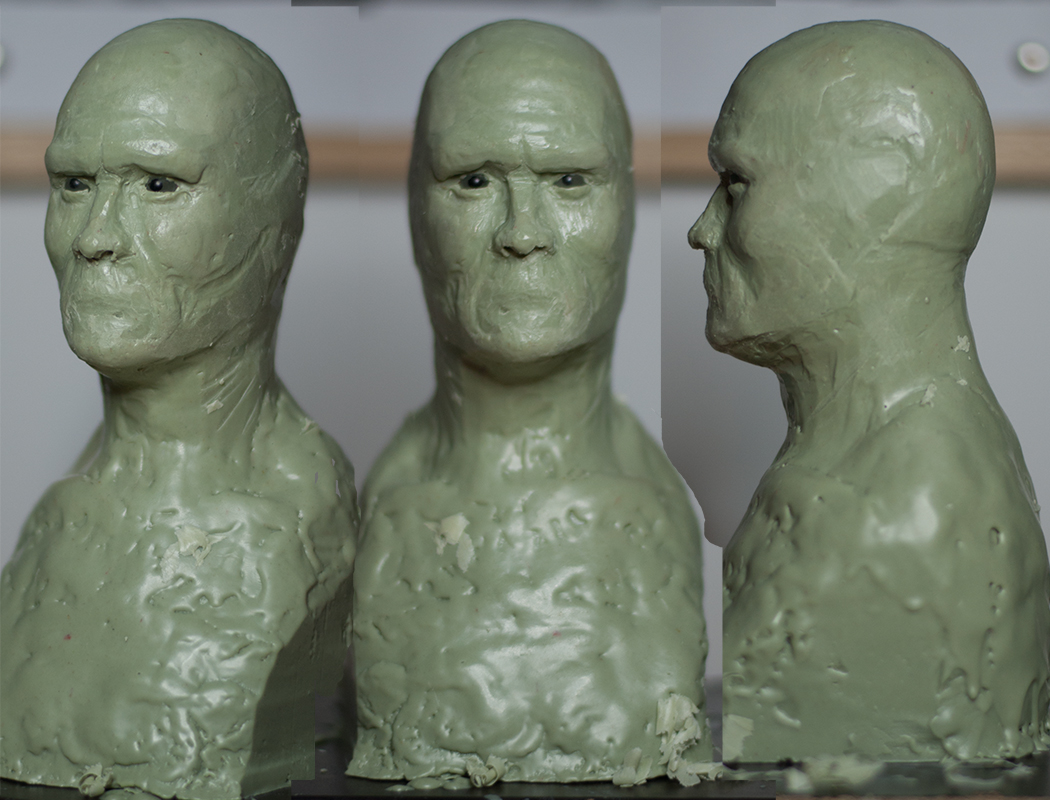
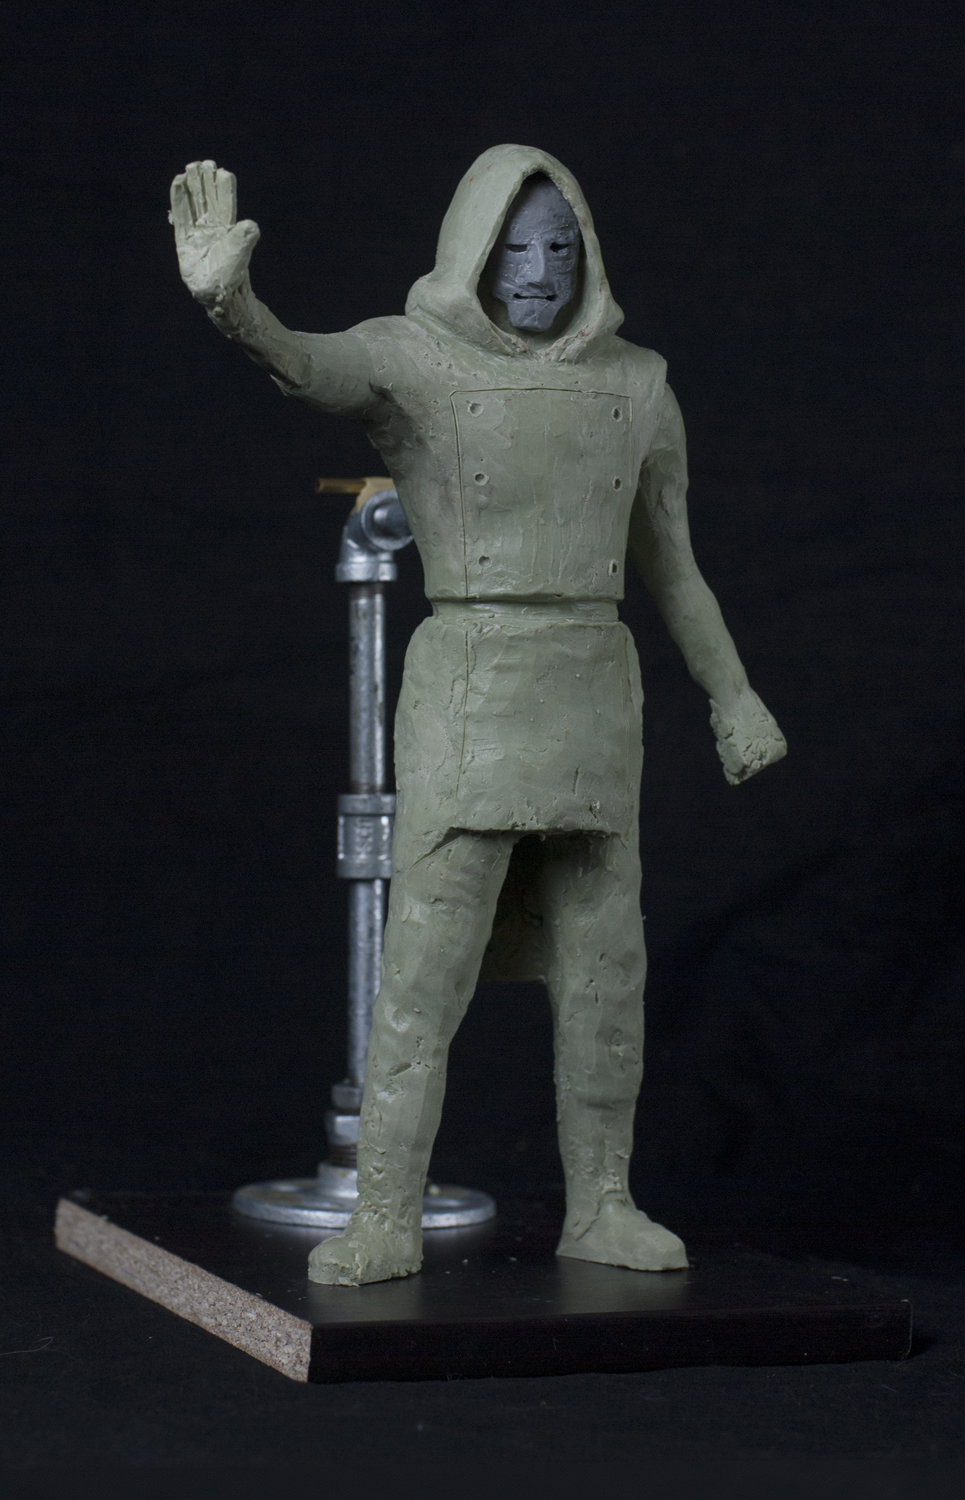
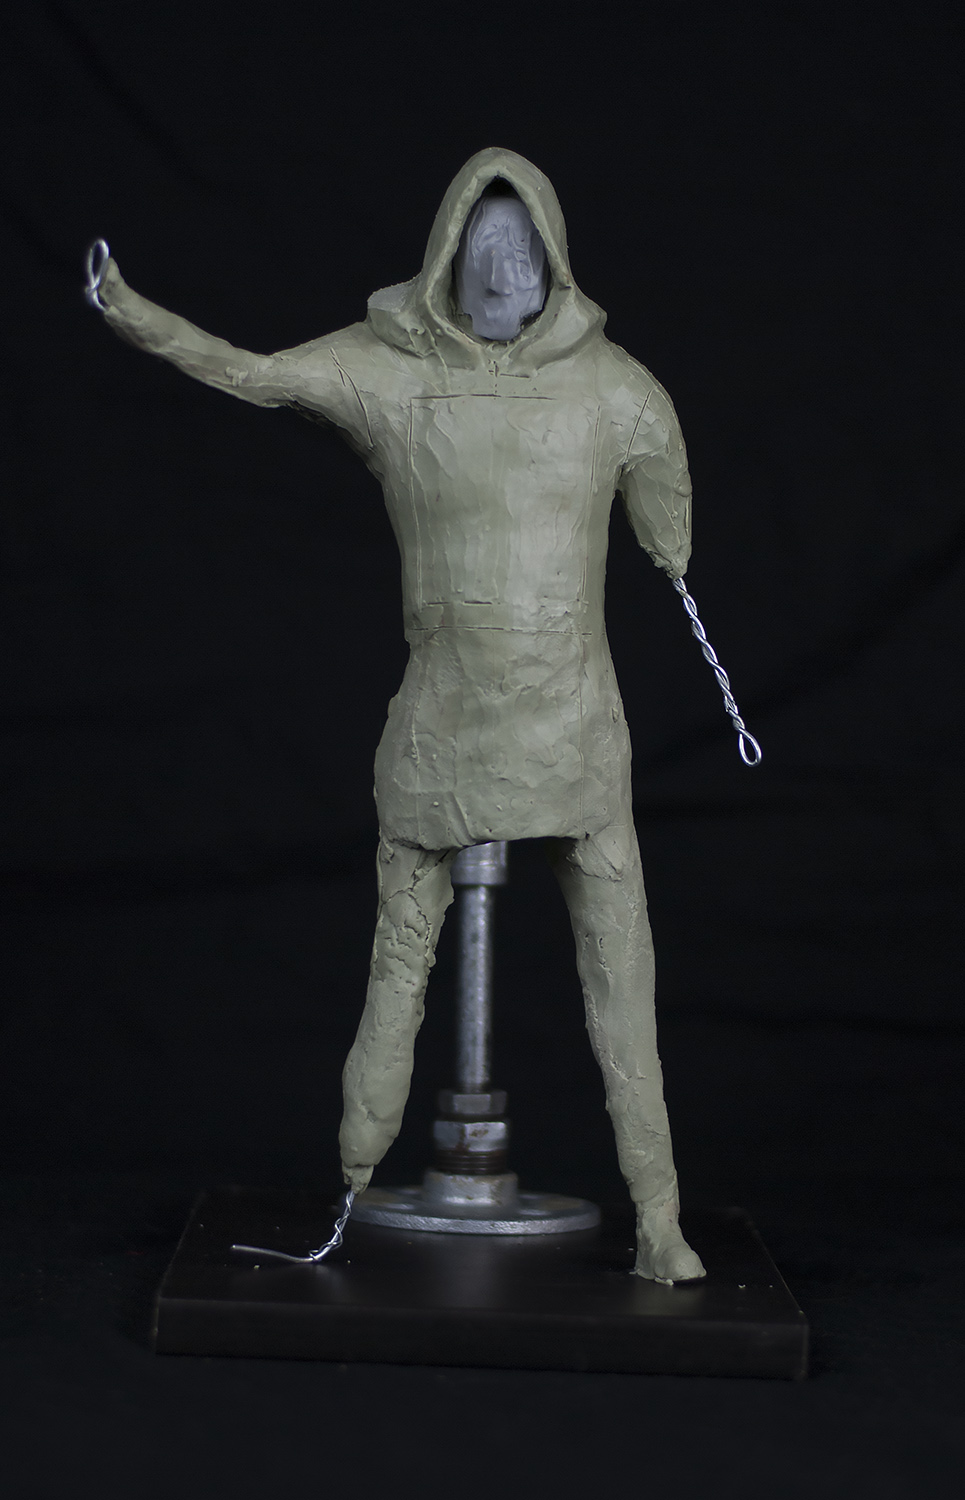
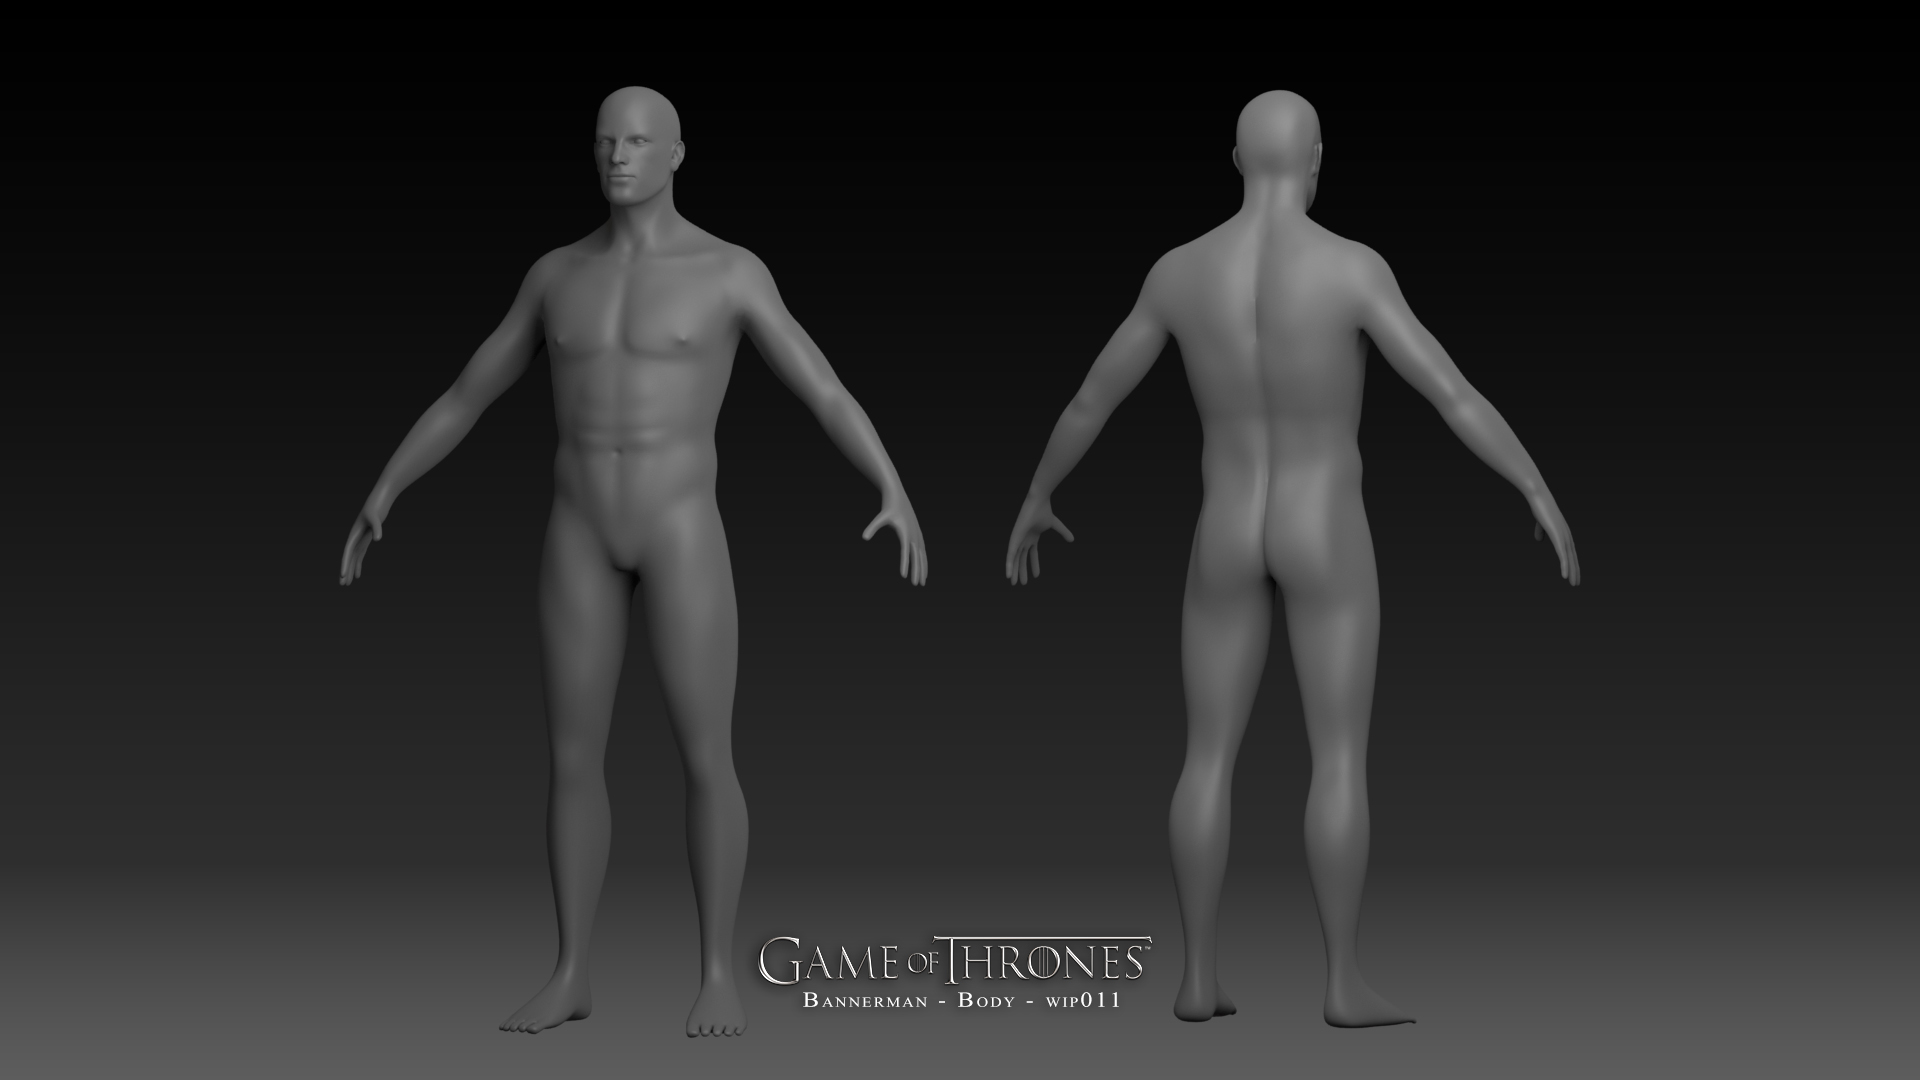
I also take some time to adjust my Bannerman 3D model for futur use: Base model reference for the armature of a 1:9 scale man.
Bannerman - WIP 011

May 19, 2014

PJG: WIP 002

WIP 002
  Finally, I'm ready to start sculpting. My armature is done, I have my NSP clay and I got my images of reference. I won't share to use the sketch yet, just for a tease eheh.

  Maybe I could explain my workflow a bit: First the materials you need:

  • Galvanized Pipes of various size
  • Galvanized Pipes fitting (Flanks, adapters, etc)
  • 1/16 gauges Aluminium Wires 
  • 1/8 gauges Aluminium Wires
  • a Hand drill
  • a Wire cutter
  • a Wood plank
  • 2x Locking pillers
  For the pipes, I use to buy them in a Home Depot or a Reno Depot (I'm Canadian from Montreal, so maybe you have equivalent stores), but now I order online at Amazon supply. I find pretty much what I need there. As for the wires, you better buy from a manufacturer of clay, sculpting tools, etc, like me I go to Sial at Laval. They have silicone, wires, clays, plaster, tools. It's the paradise for sculptors.

Tools needed to construct an armature
  Because I bought many size of gauge for my pipes, I was lucky to be able to finish the armature without go back to the pipes store. I use 3/8 gauges pipes and fitting. But because the store didn't have a 3/8 flank, I bought a 1/2 with a 1/2 to 3/8 adapter with a 1/2 pipe.

  Many Youtube can help you to get the armature done. But basicly, you use the galvanized pipes and fitting to support you armature. You drill the flange in the wood and you dig two holes for the legs. You can fill the holes with epoxy so the armature is really glue to the base. The armature itself is a mix of wires. The biggest size for the main bones and you turn around that main with the 1/16 gauge, so the clay can grab well on the armature. Donèt drill too far like me and pass throw the wood plank. If so, use epoxy to fill the holes and put a paper beneath it so the epoxy don't stick to your workstation.