Showing posts with label hommage. Show all posts

Oct 30, 2016

Back to be an artist & Darth Vader Bust WIP 005


Hello guys, it's been months since I post. My life change a bit since then. After 2, almost 3, years I finally switch back to be an artist. Not coordination anymore. At MPC montreal, I was covering FX department on various movies: Xmen, Terminator: Genisys, Goosebump, Pirate of the Caribbeans, etc. But I grow a bit tired of redoing the same schedule on planning. As an artist at least it's new subject. So I'm now in 3ddmp for MPC. I sculpt environment :) Really hope the be on many movies in 2017 to grow my portfolio.

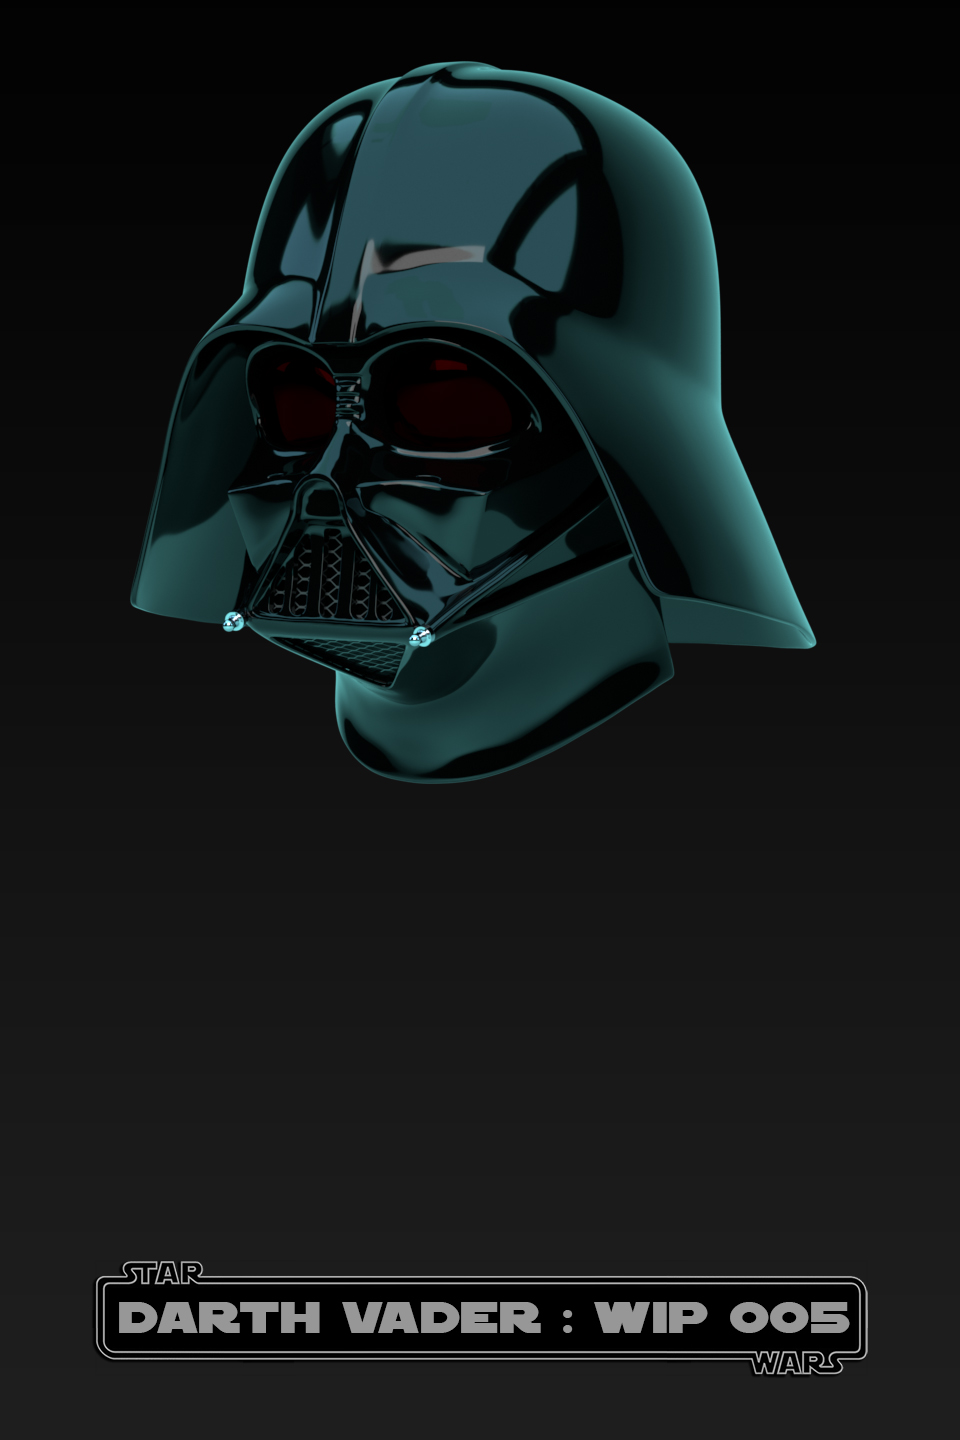
As for my personal projects, it's still going. My Nux character is on pause since I start a Darth Vader bust in CG but I plan to 3d print it and cast it for the next Montreal comic-con 2017. I have a stand there so I hope to have something to show and sell.

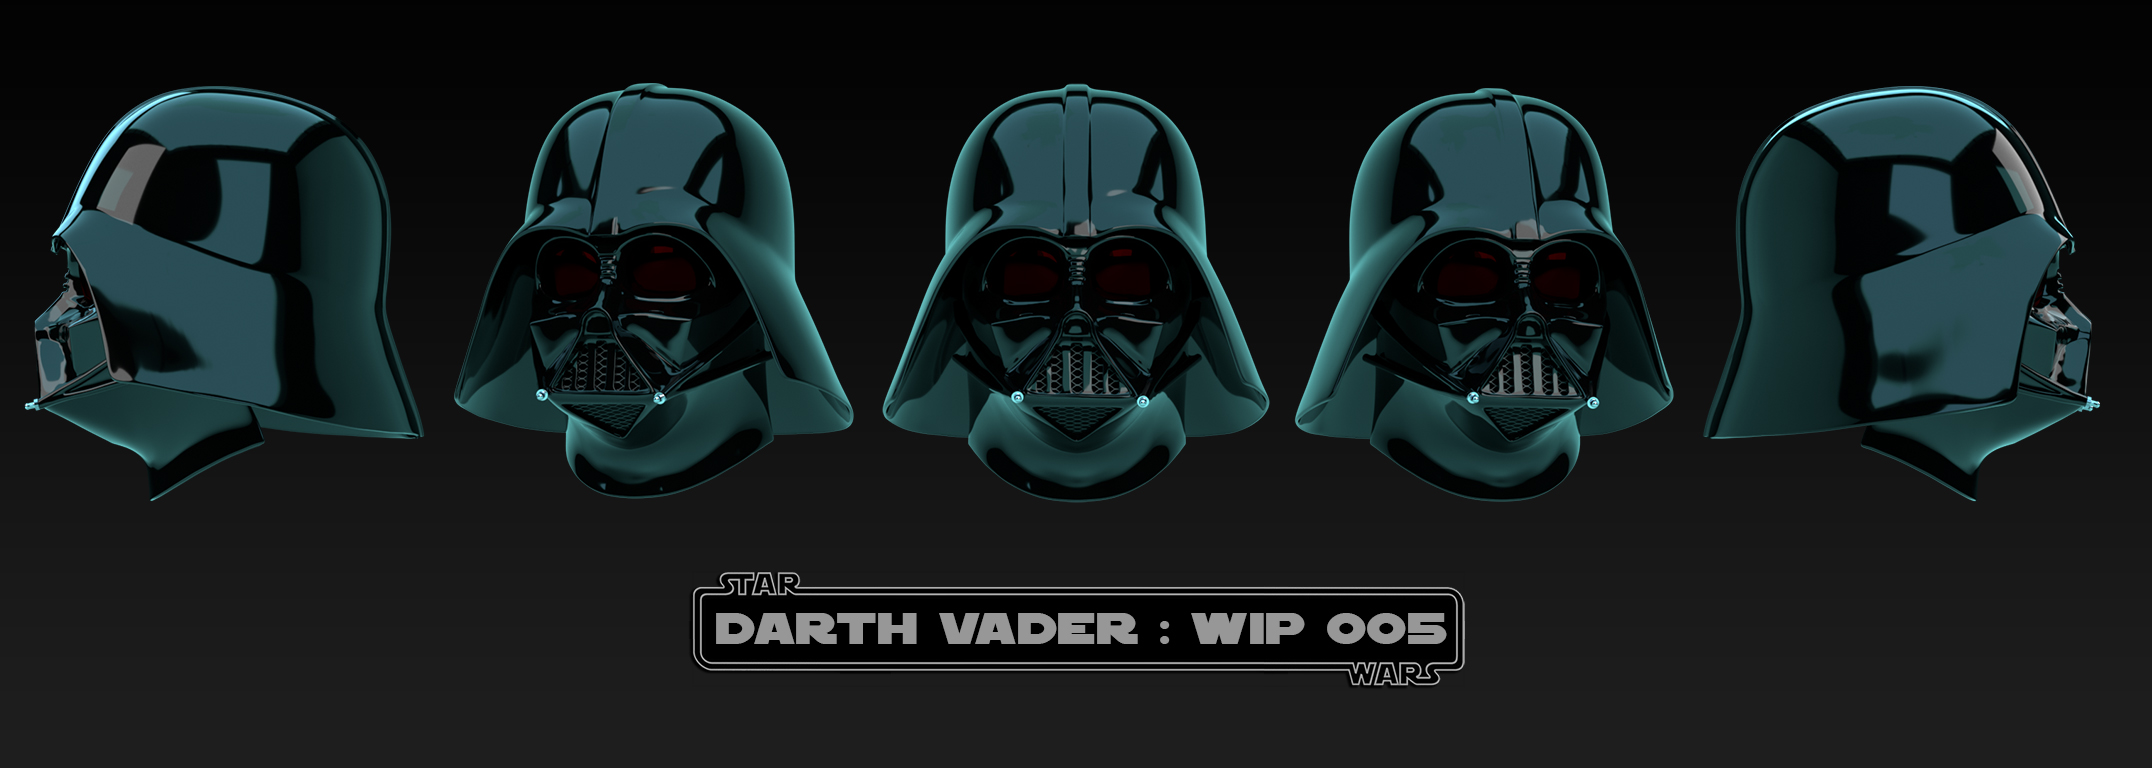
I plan a screen accurate Vader bust in 1:2 scale from Empire Strike Back (ESB). So mean I will have the helmet only. I don't plan the character inside even if we see i'm in the vader chamber in ESB. I will produce a very limited copy of the v1 bust and will move on to an other bust next. Here's my progress so far

May 9, 2015

WIP Sculpts

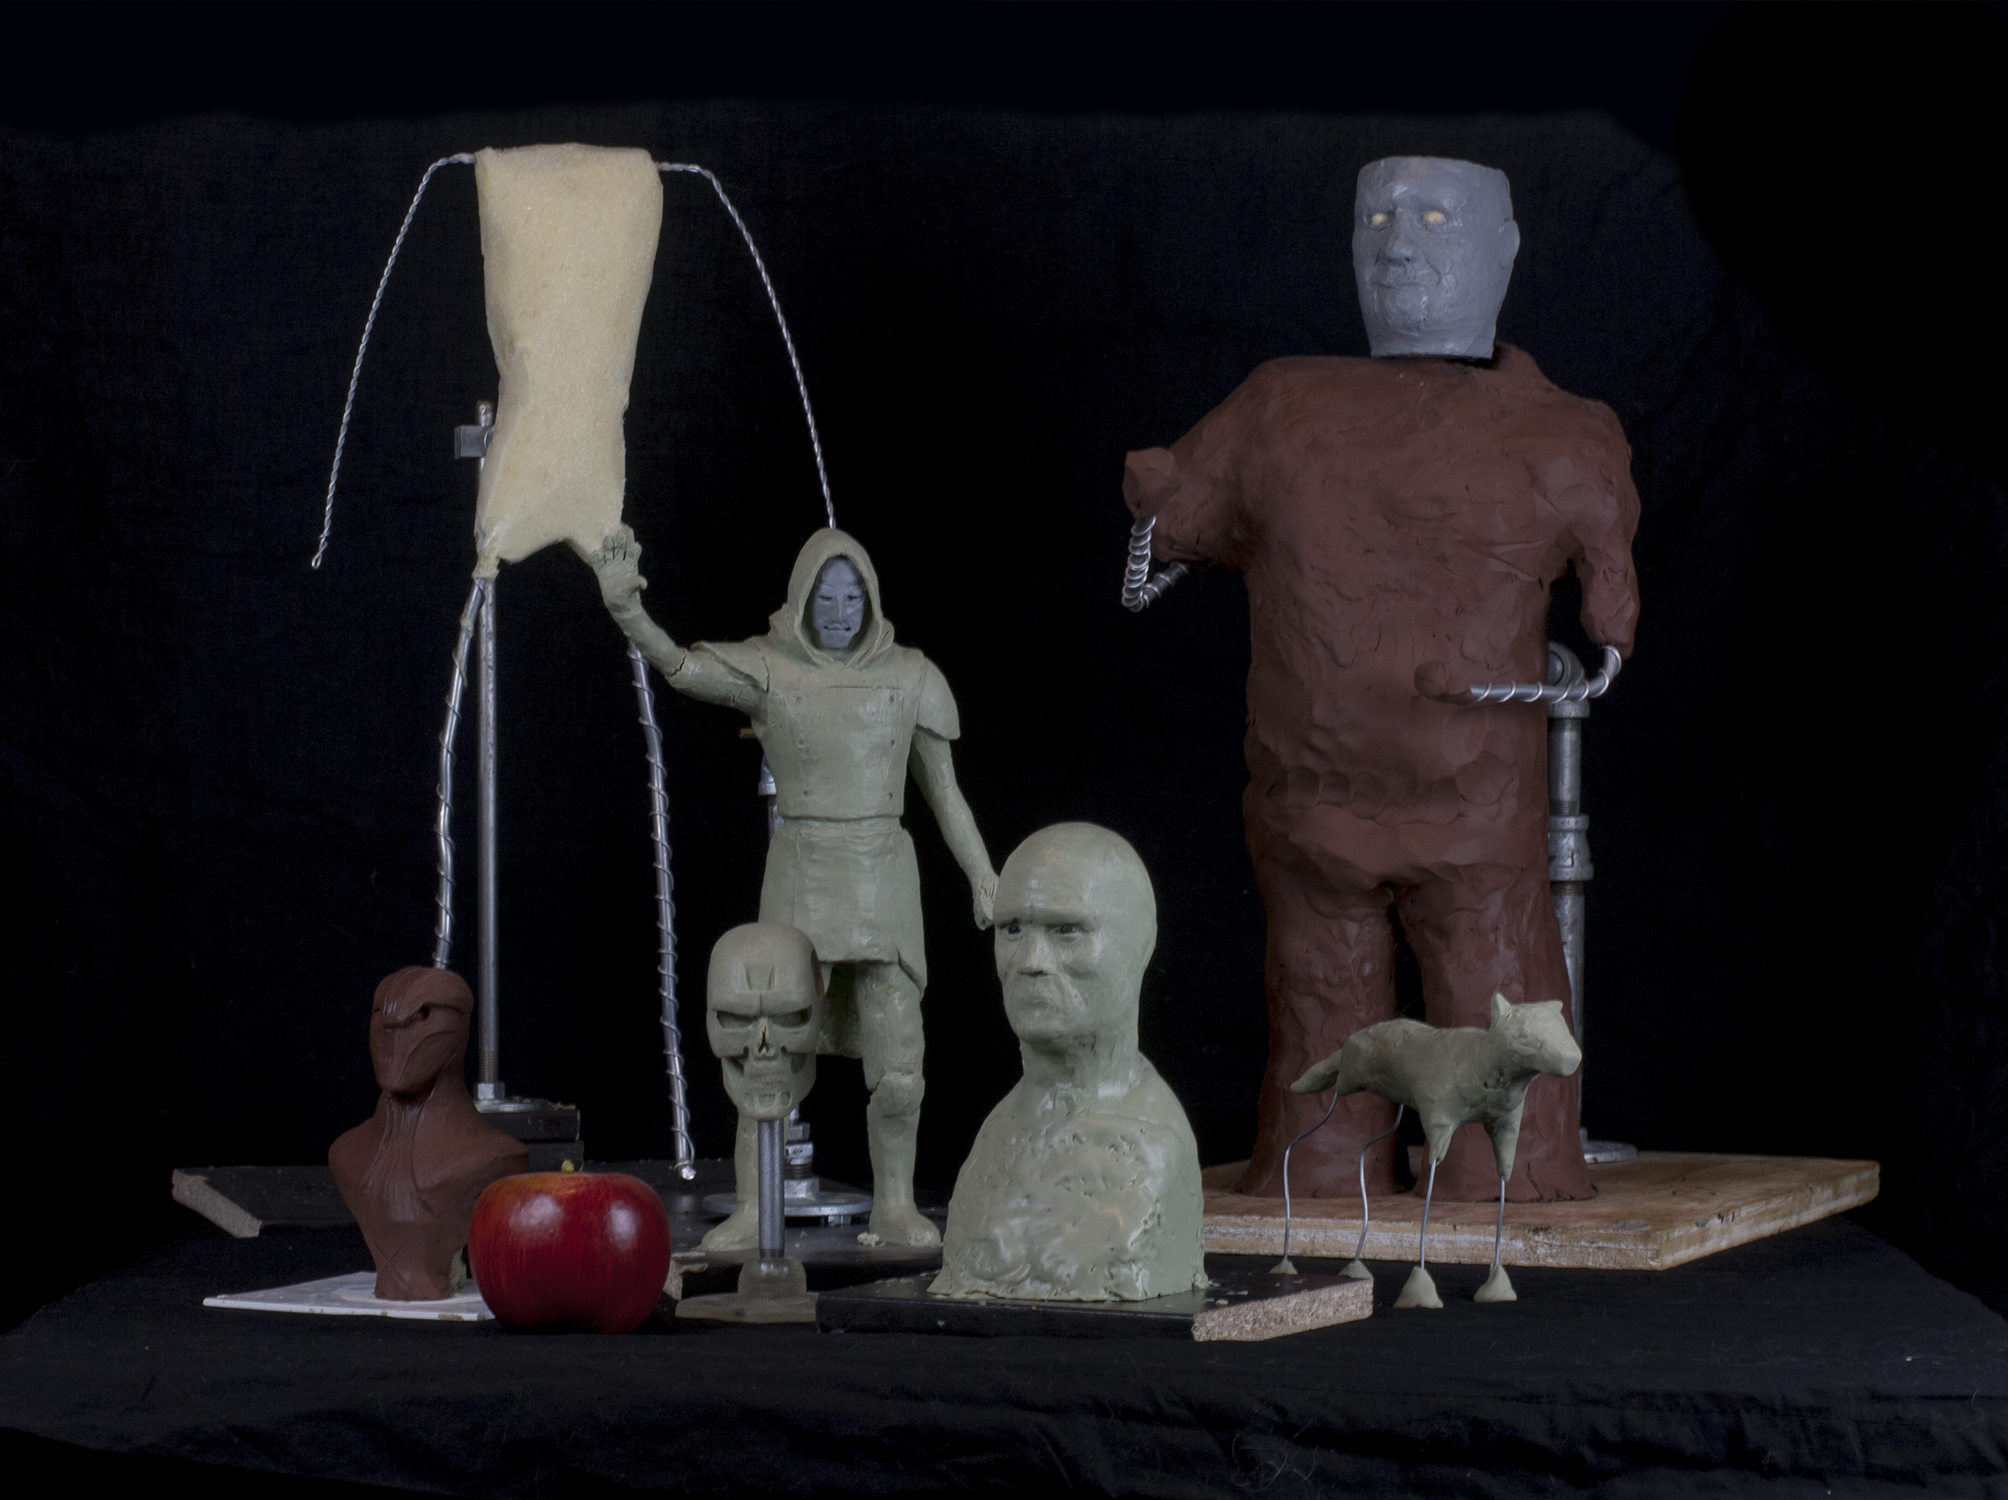
Since last year I start many projects. Today since I was photoshooting refs, I took the time to photoshoot all my work-in-progress sculpts. Some are not feauturing there because I choose to switch to digital art instead: Captain Harlock ship replica: Arcadia.

Jun 29, 2014

PDJ: WIP 003

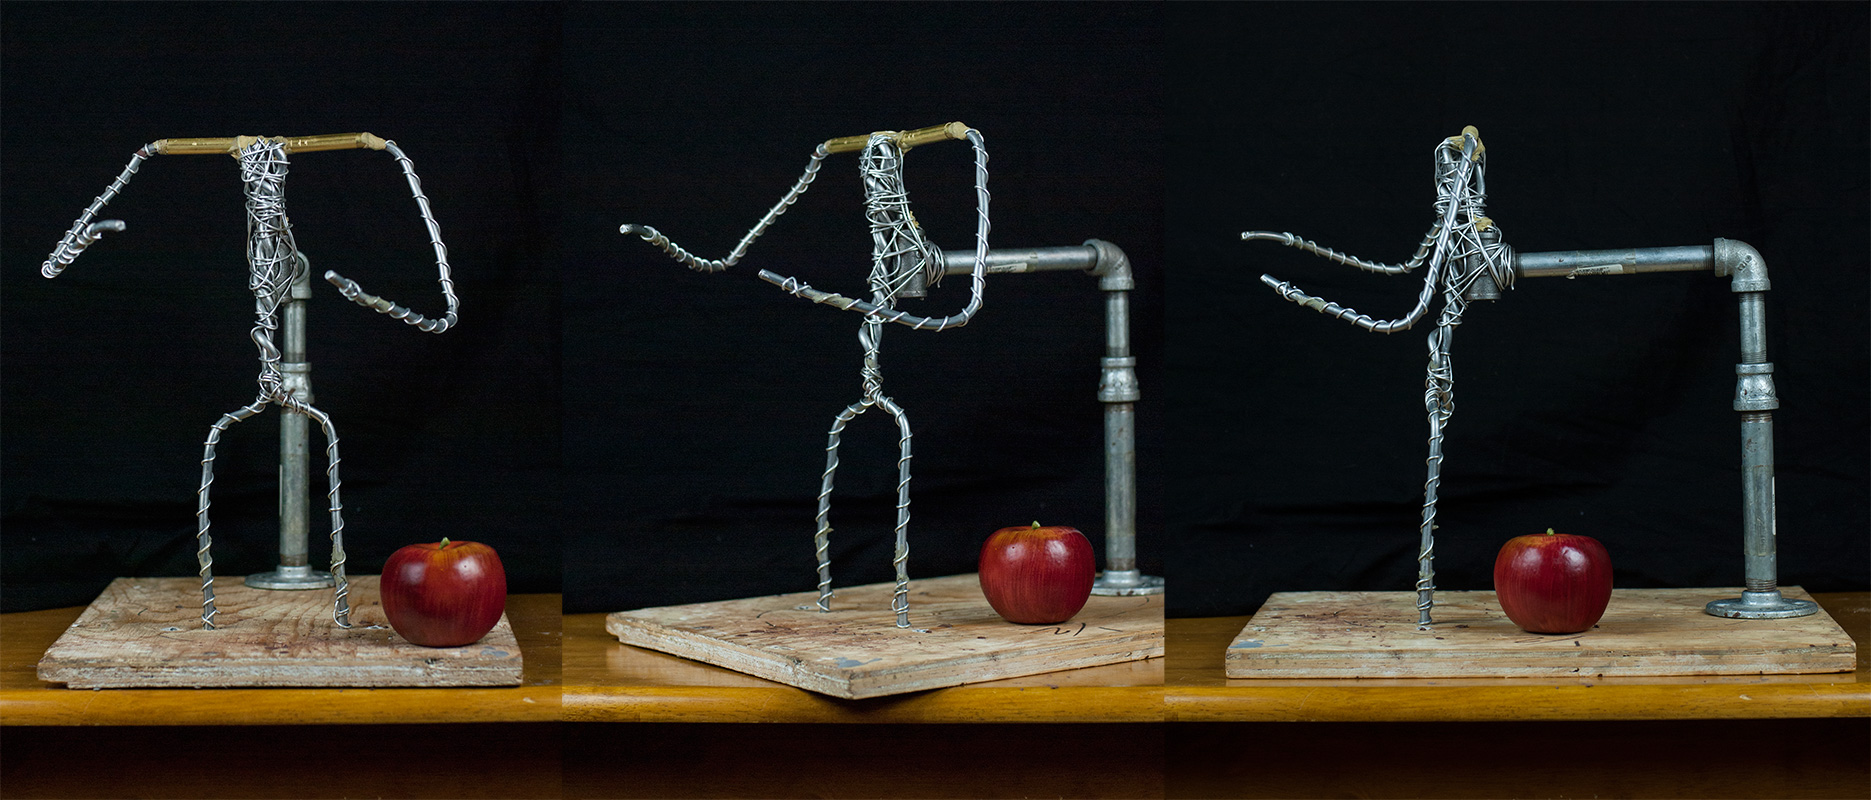
WIP 002 - Armature updated (Added Joints and legs updated)
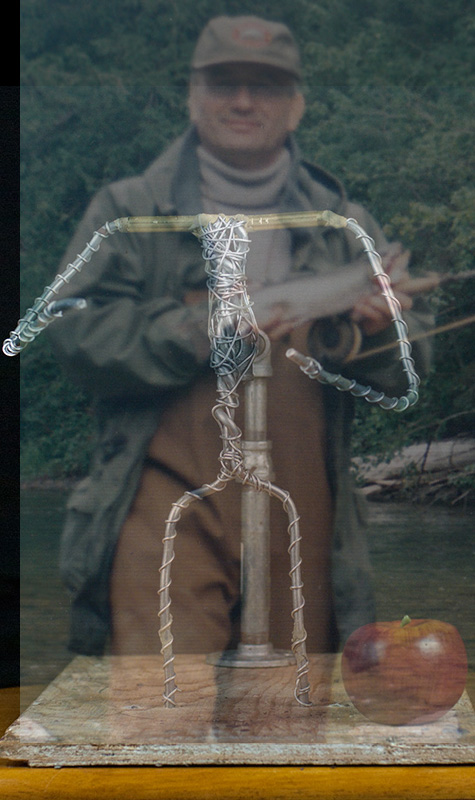
  I bought my last Y2-klay cylinders. So a total of seven Y2-klay blocks for that sculpture. Better more then less right? Don't want to go back to the store for an half of a block. In Photoshop, I add the wip002 on top of my father REF and find out that my legs were to wide. So, I decide to rework the position of the legs and lower the all armature in the same time.
REF + Armature

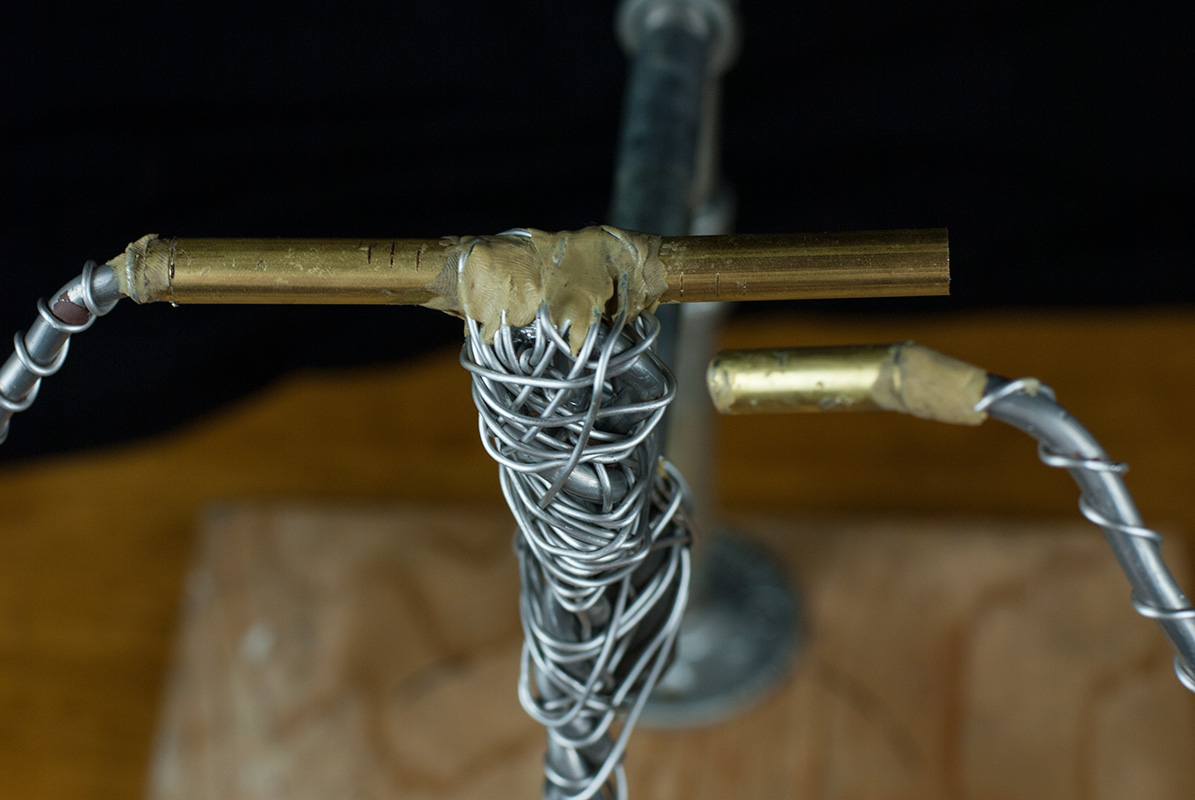
Armature joints
I also add joints for the arms, because you always have the plan the molding/casting stage. With my arms coming forward, I was aiming with a future problem of mold. So I decide to correct that now with the joints. I used brass tubing (didn't want to order square shape, so my joints trun a bit). Two size tubings so one enter into the other. I merge them with Epoxy Putty. I also solidify the armature in the center. Added an apple in the picture, as ref of scale (Sideshow Collectibles do that). So my scale is 1:3.

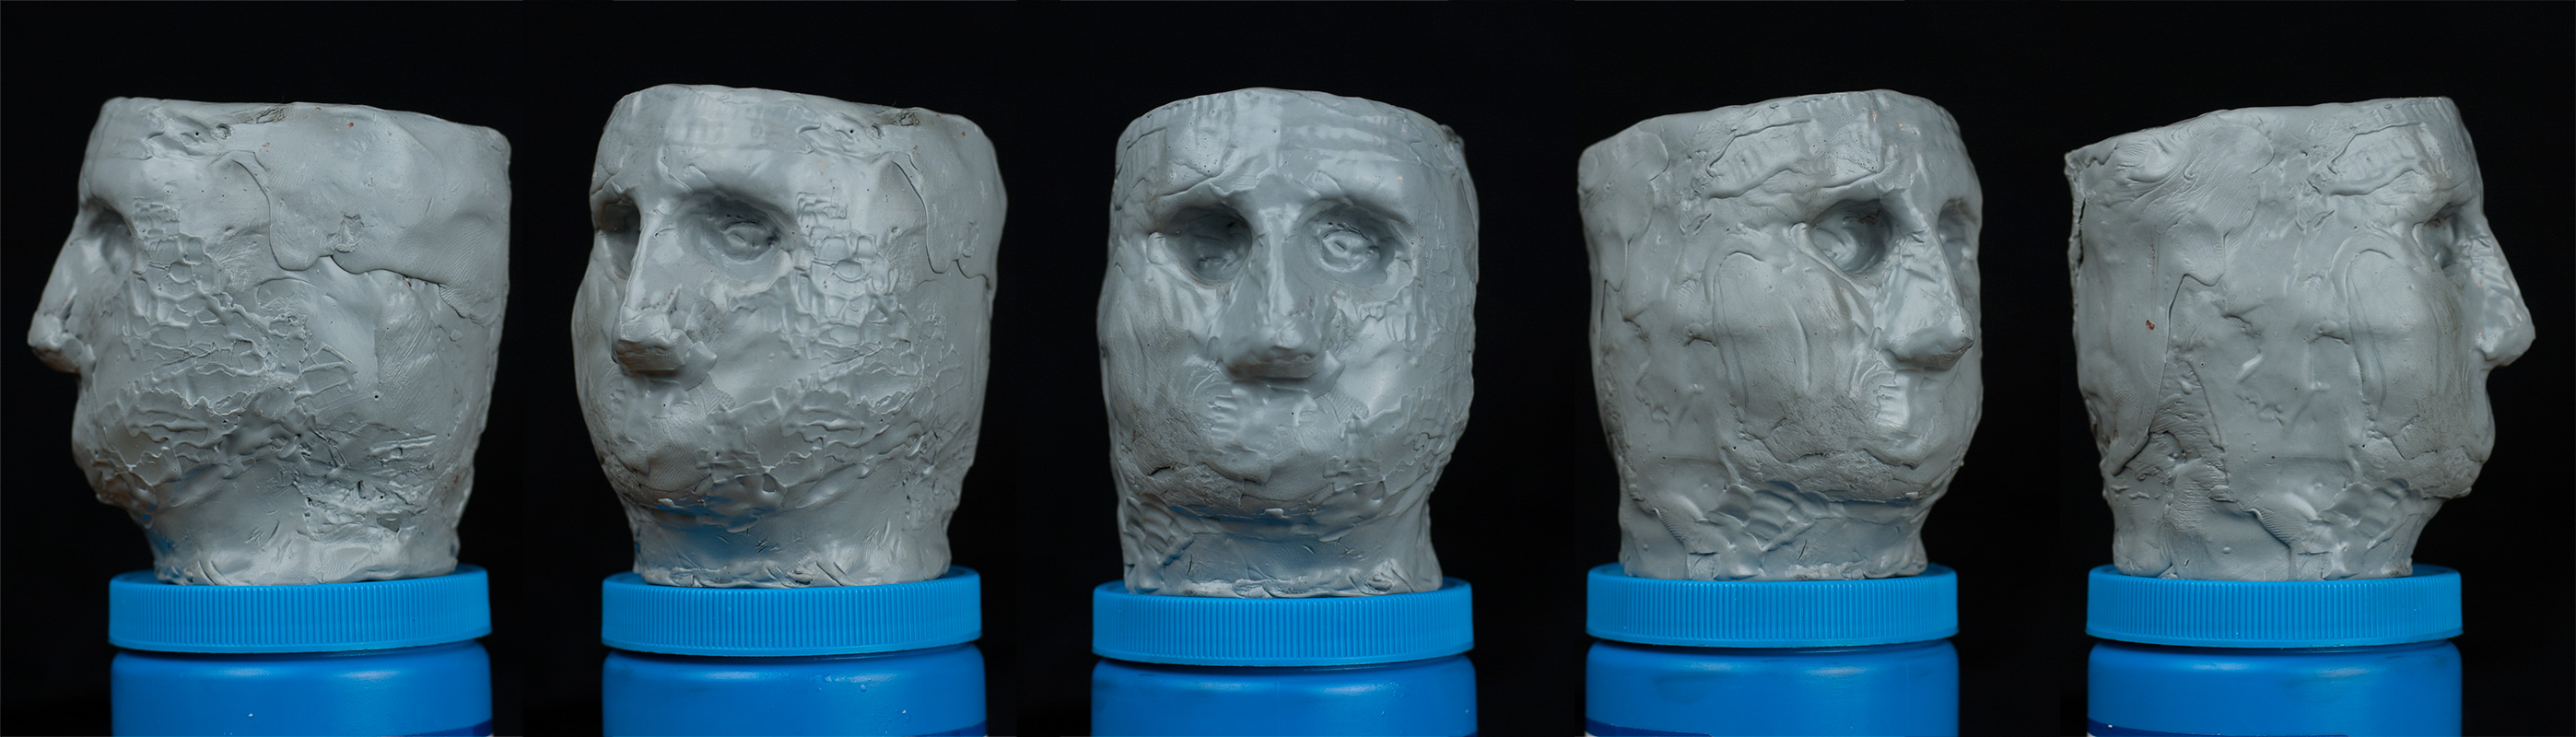
  For the head, I start with the Cx5 material, not so easy to work with. Maybe I do it wrong, but the material turn cold very fast, no time to sculpt with normal sculpting tools. I really need the waxer for it, but the tip that come with the Ultra-Waxer is not good like Adam Beanes say in his Youtube Channel. You need two others tips (video at 13min 15sec) : Small Denture (Pink) and the Half Hollenback (Black). The best price I found was on the Kerrlab site. Because you won't get charge for the shipping. 79USD a tip is like 30-40 dollars shipping on some sites. No way I will order a $100 tip. The trouble with ordering from the Kerrlab website is: they redirect you to a local distributor and mine restrict to Dentists orders only. I have a friend that is father is a dentist, so I hope I can use my contact for that. Free shipping would be the best.


  Adam do impressive sculpts with the Cx5 and a waxer, so I can do it to no? eheh. Here's the result for now. I dig the socket of the eyes to put two 12mm of wood balls has eyeballs. Should do the trick. This week, I finally plan to put the Y2-Klay on the armature and start posing it. I will let you know the result of my attempt of ordering from dentist my tips. Also soon, I will start buying for furniture for my art: jewelry workbench, magnetic lamp and a good stool, so I can remove my stuff for the dinner table. Few days off, so I should be able to do many of the thing I just said.

May 19, 2014

PJG: WIP 002

WIP 002
  Finally, I'm ready to start sculpting. My armature is done, I have my NSP clay and I got my images of reference. I won't share to use the sketch yet, just for a tease eheh.

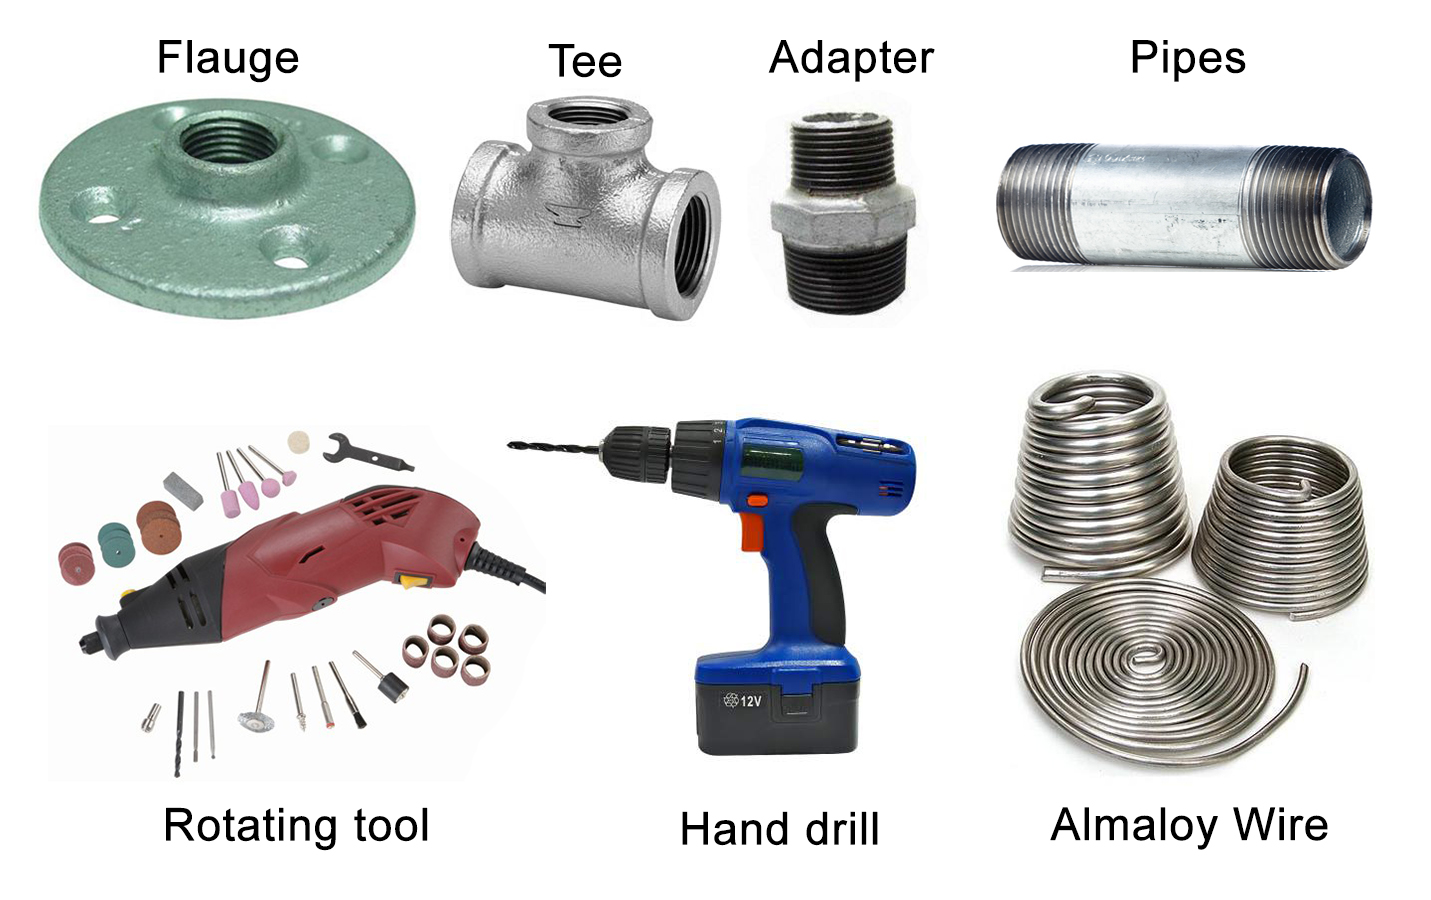
  Maybe I could explain my workflow a bit: First the materials you need:

  • Galvanized Pipes of various size
  • Galvanized Pipes fitting (Flanks, adapters, etc)
  • 1/16 gauges Aluminium Wires 
  • 1/8 gauges Aluminium Wires
  • a Hand drill
  • a Wire cutter
  • a Wood plank
  • 2x Locking pillers
  For the pipes, I use to buy them in a Home Depot or a Reno Depot (I'm Canadian from Montreal, so maybe you have equivalent stores), but now I order online at Amazon supply. I find pretty much what I need there. As for the wires, you better buy from a manufacturer of clay, sculpting tools, etc, like me I go to Sial at Laval. They have silicone, wires, clays, plaster, tools. It's the paradise for sculptors.

Tools needed to construct an armature
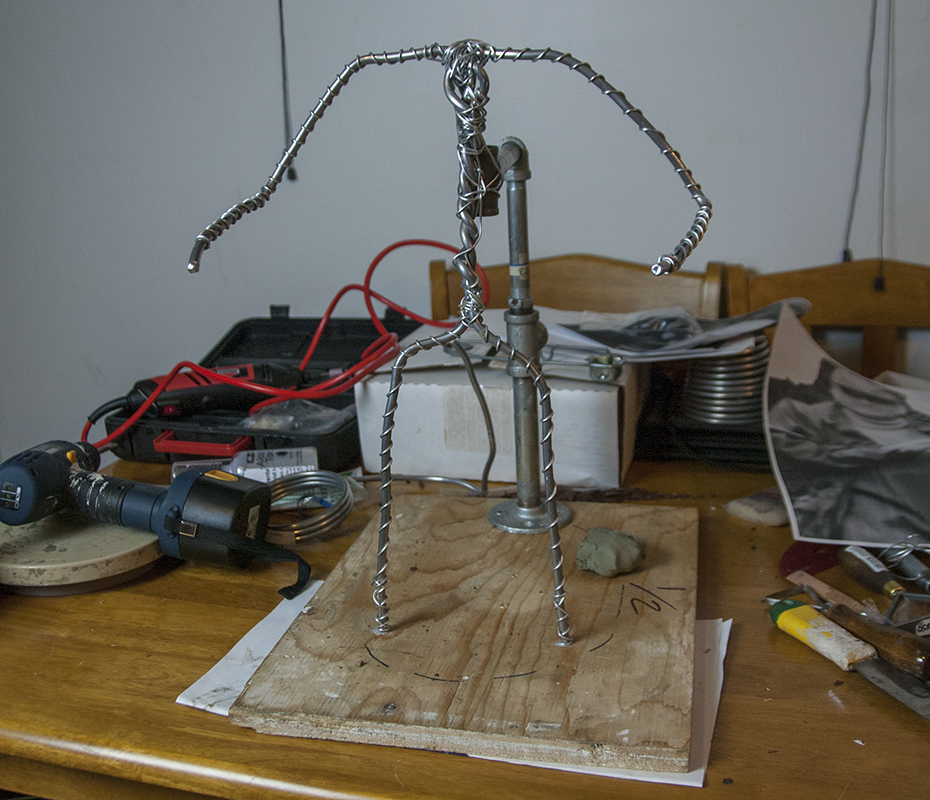
  Because I bought many size of gauge for my pipes, I was lucky to be able to finish the armature without go back to the pipes store. I use 3/8 gauges pipes and fitting. But because the store didn't have a 3/8 flank, I bought a 1/2 with a 1/2 to 3/8 adapter with a 1/2 pipe.

  Many Youtube can help you to get the armature done. But basicly, you use the galvanized pipes and fitting to support you armature. You drill the flange in the wood and you dig two holes for the legs. You can fill the holes with epoxy so the armature is really glue to the base. The armature itself is a mix of wires. The biggest size for the main bones and you turn around that main with the 1/16 gauge, so the clay can grab well on the armature. Donèt drill too far like me and pass throw the wood plank. If so, use epoxy to fill the holes and put a paper beneath it so the epoxy don't stick to your workstation.

Aug 12, 2012

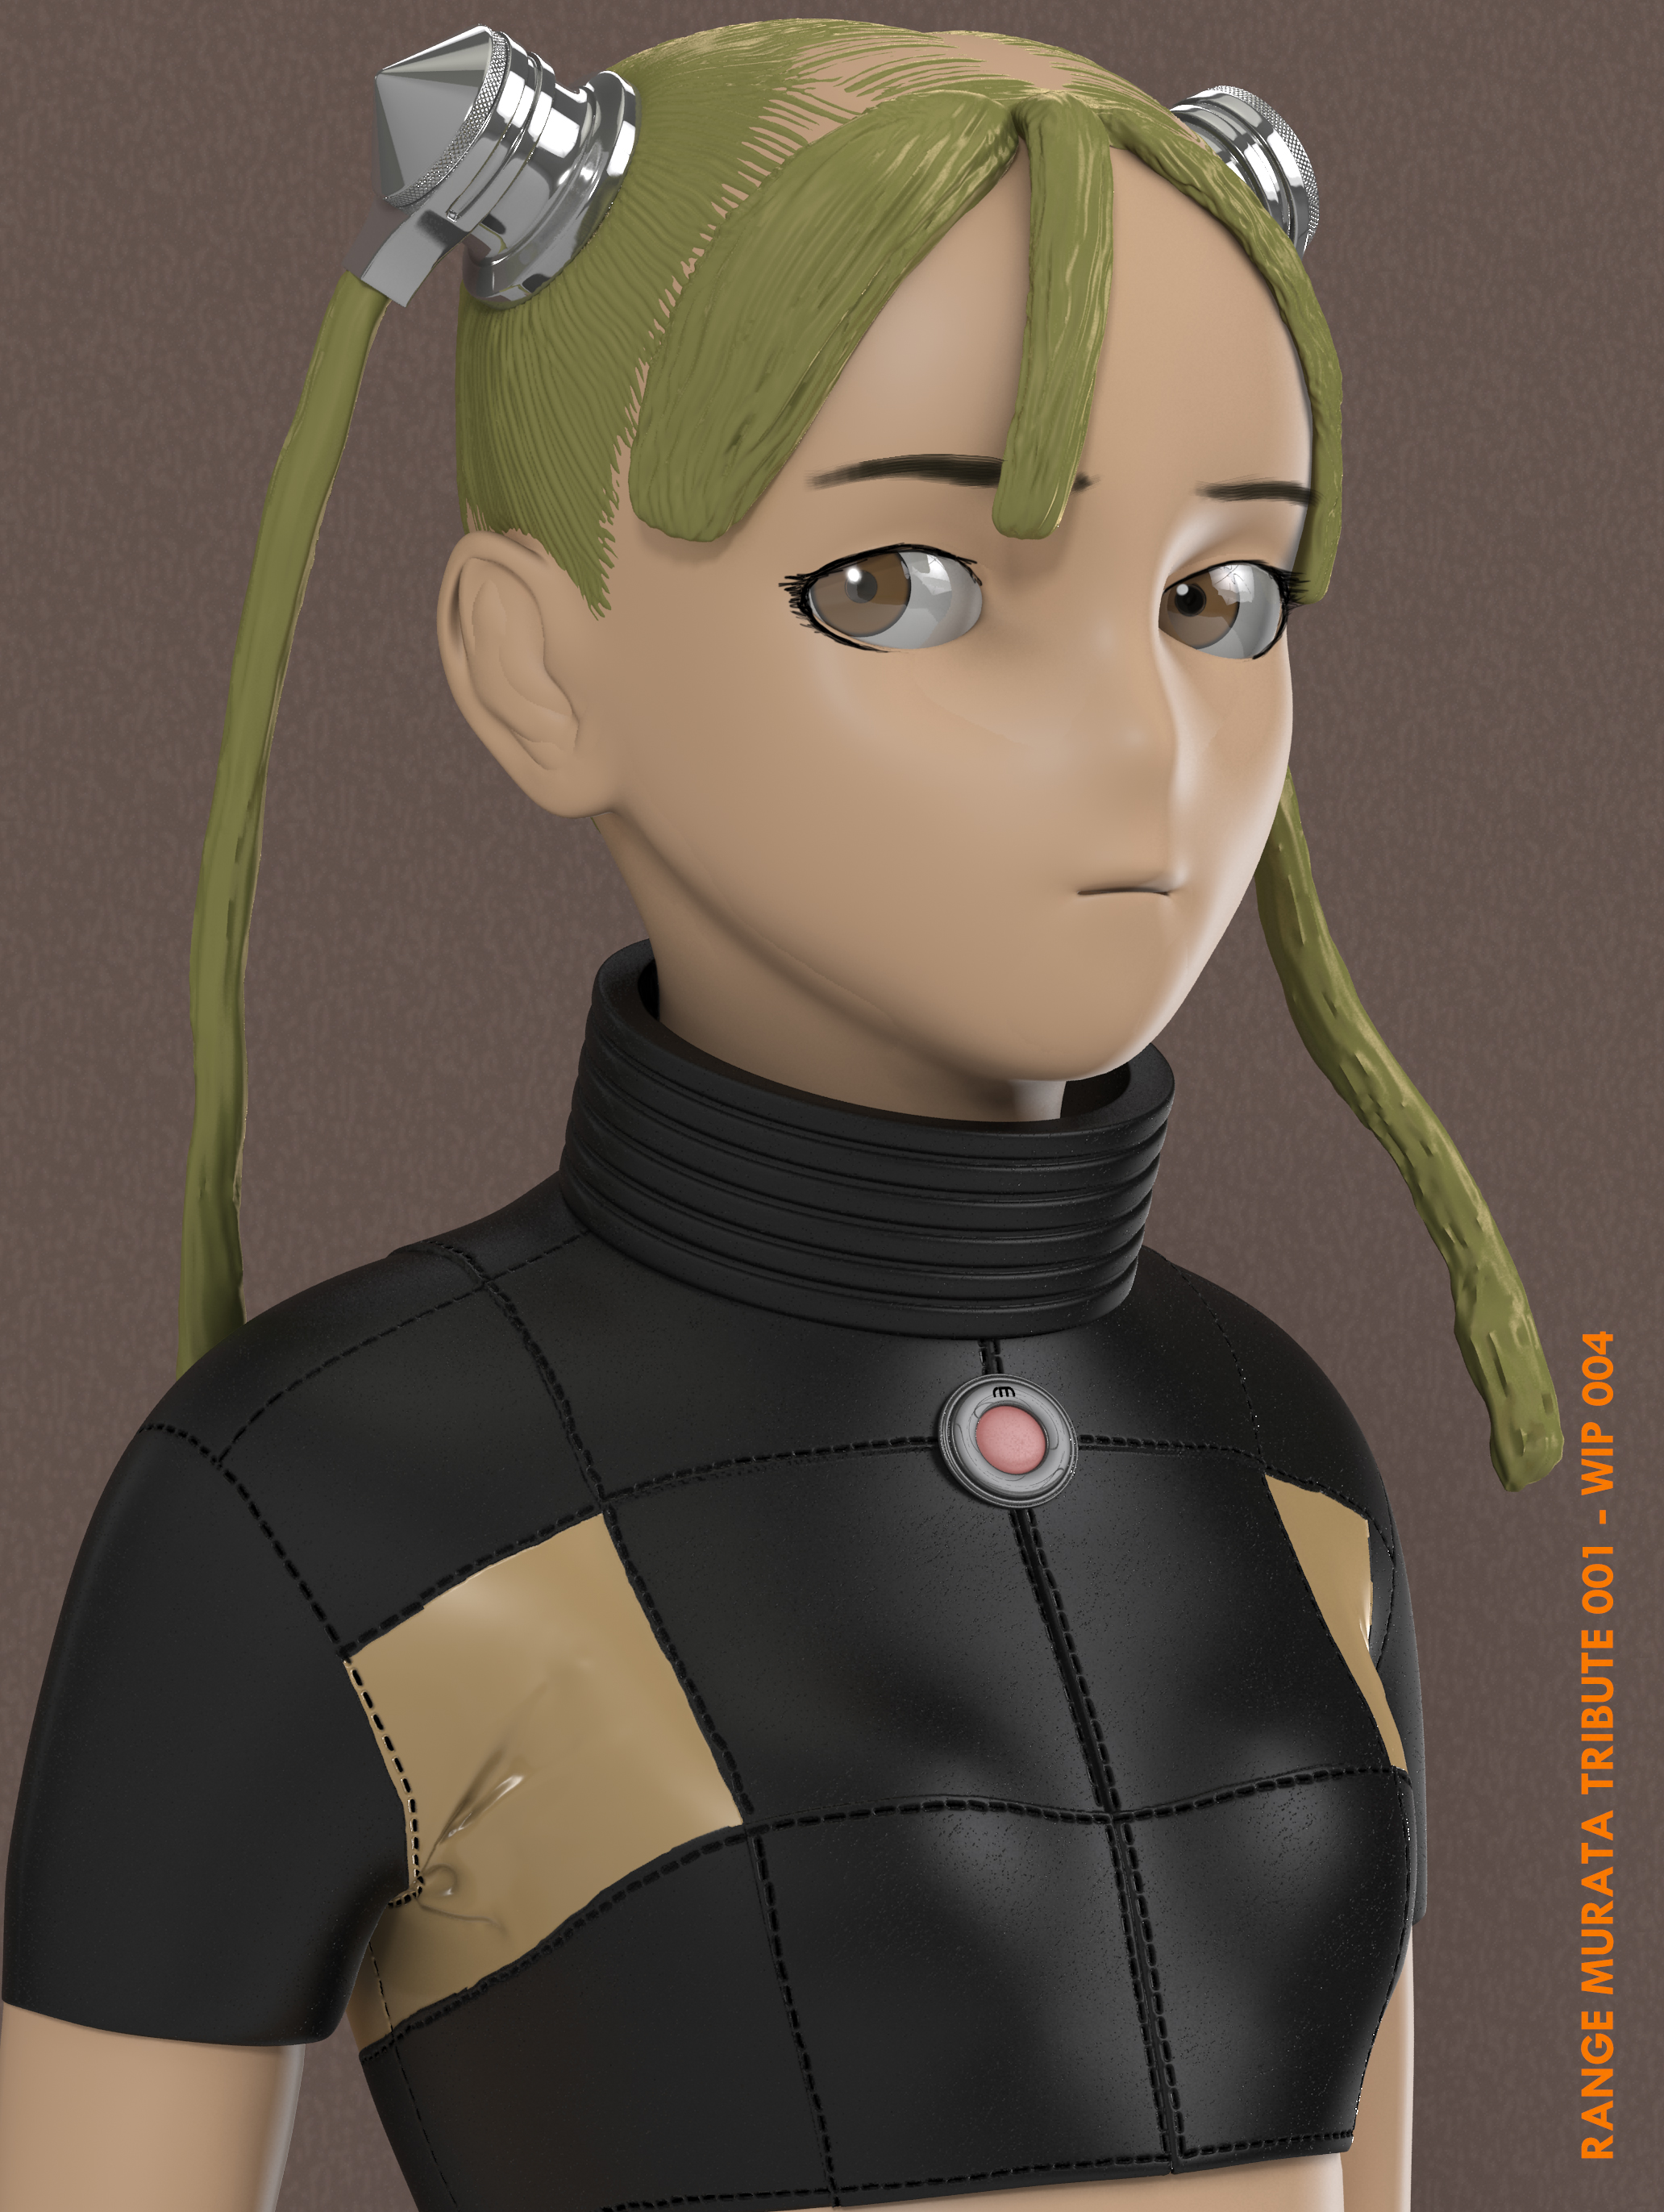
Range Murata Tribute - WIP 004


4ème avancement.
J'ai mis à jour certains Shaders et biensur rajouté du détail.

Détail du suit ont été fait avec des alphas mask. Je prépare le tout dans Photoshop selon le flow des UV et je fais: Mask by Alpha dans Zbrush et Deformation/Inflate pour creuser ou tirer là où c'est voulu

Je vraiment fait n'importe quoi pour les cheveux. Je vais les refaire ses coups de Zpinceau.

J'ai changer le HDRI d'environnement pour celui d'un studio photo Lightbox que j'ai prit sur deviantart. merci zbyg. Ça marche bien plus là! Mais faut je travaille leur direction ca donne pas la lumière où c'est exactement supposé être.

Je vais peut-être revoir la réflection du suit car je veux un certain type de cuir. Et la tête n'est pas du tout la même que l'image, alors peut-être revisiter ça aussi.

Ah oui, elle n'est pas en pose là. c'est une T pose pour l'instant, alors manque la pose et l'expression faciale qu'on a sur le concept.

Mais ça avance, Je vais surment finaliser ça cette semaine. Car mon prochain projet me tente pas mal. Mais je ne veux pas rusher celui-là.. il va quand même aller dans mon porte-folio.

Aug 9, 2012

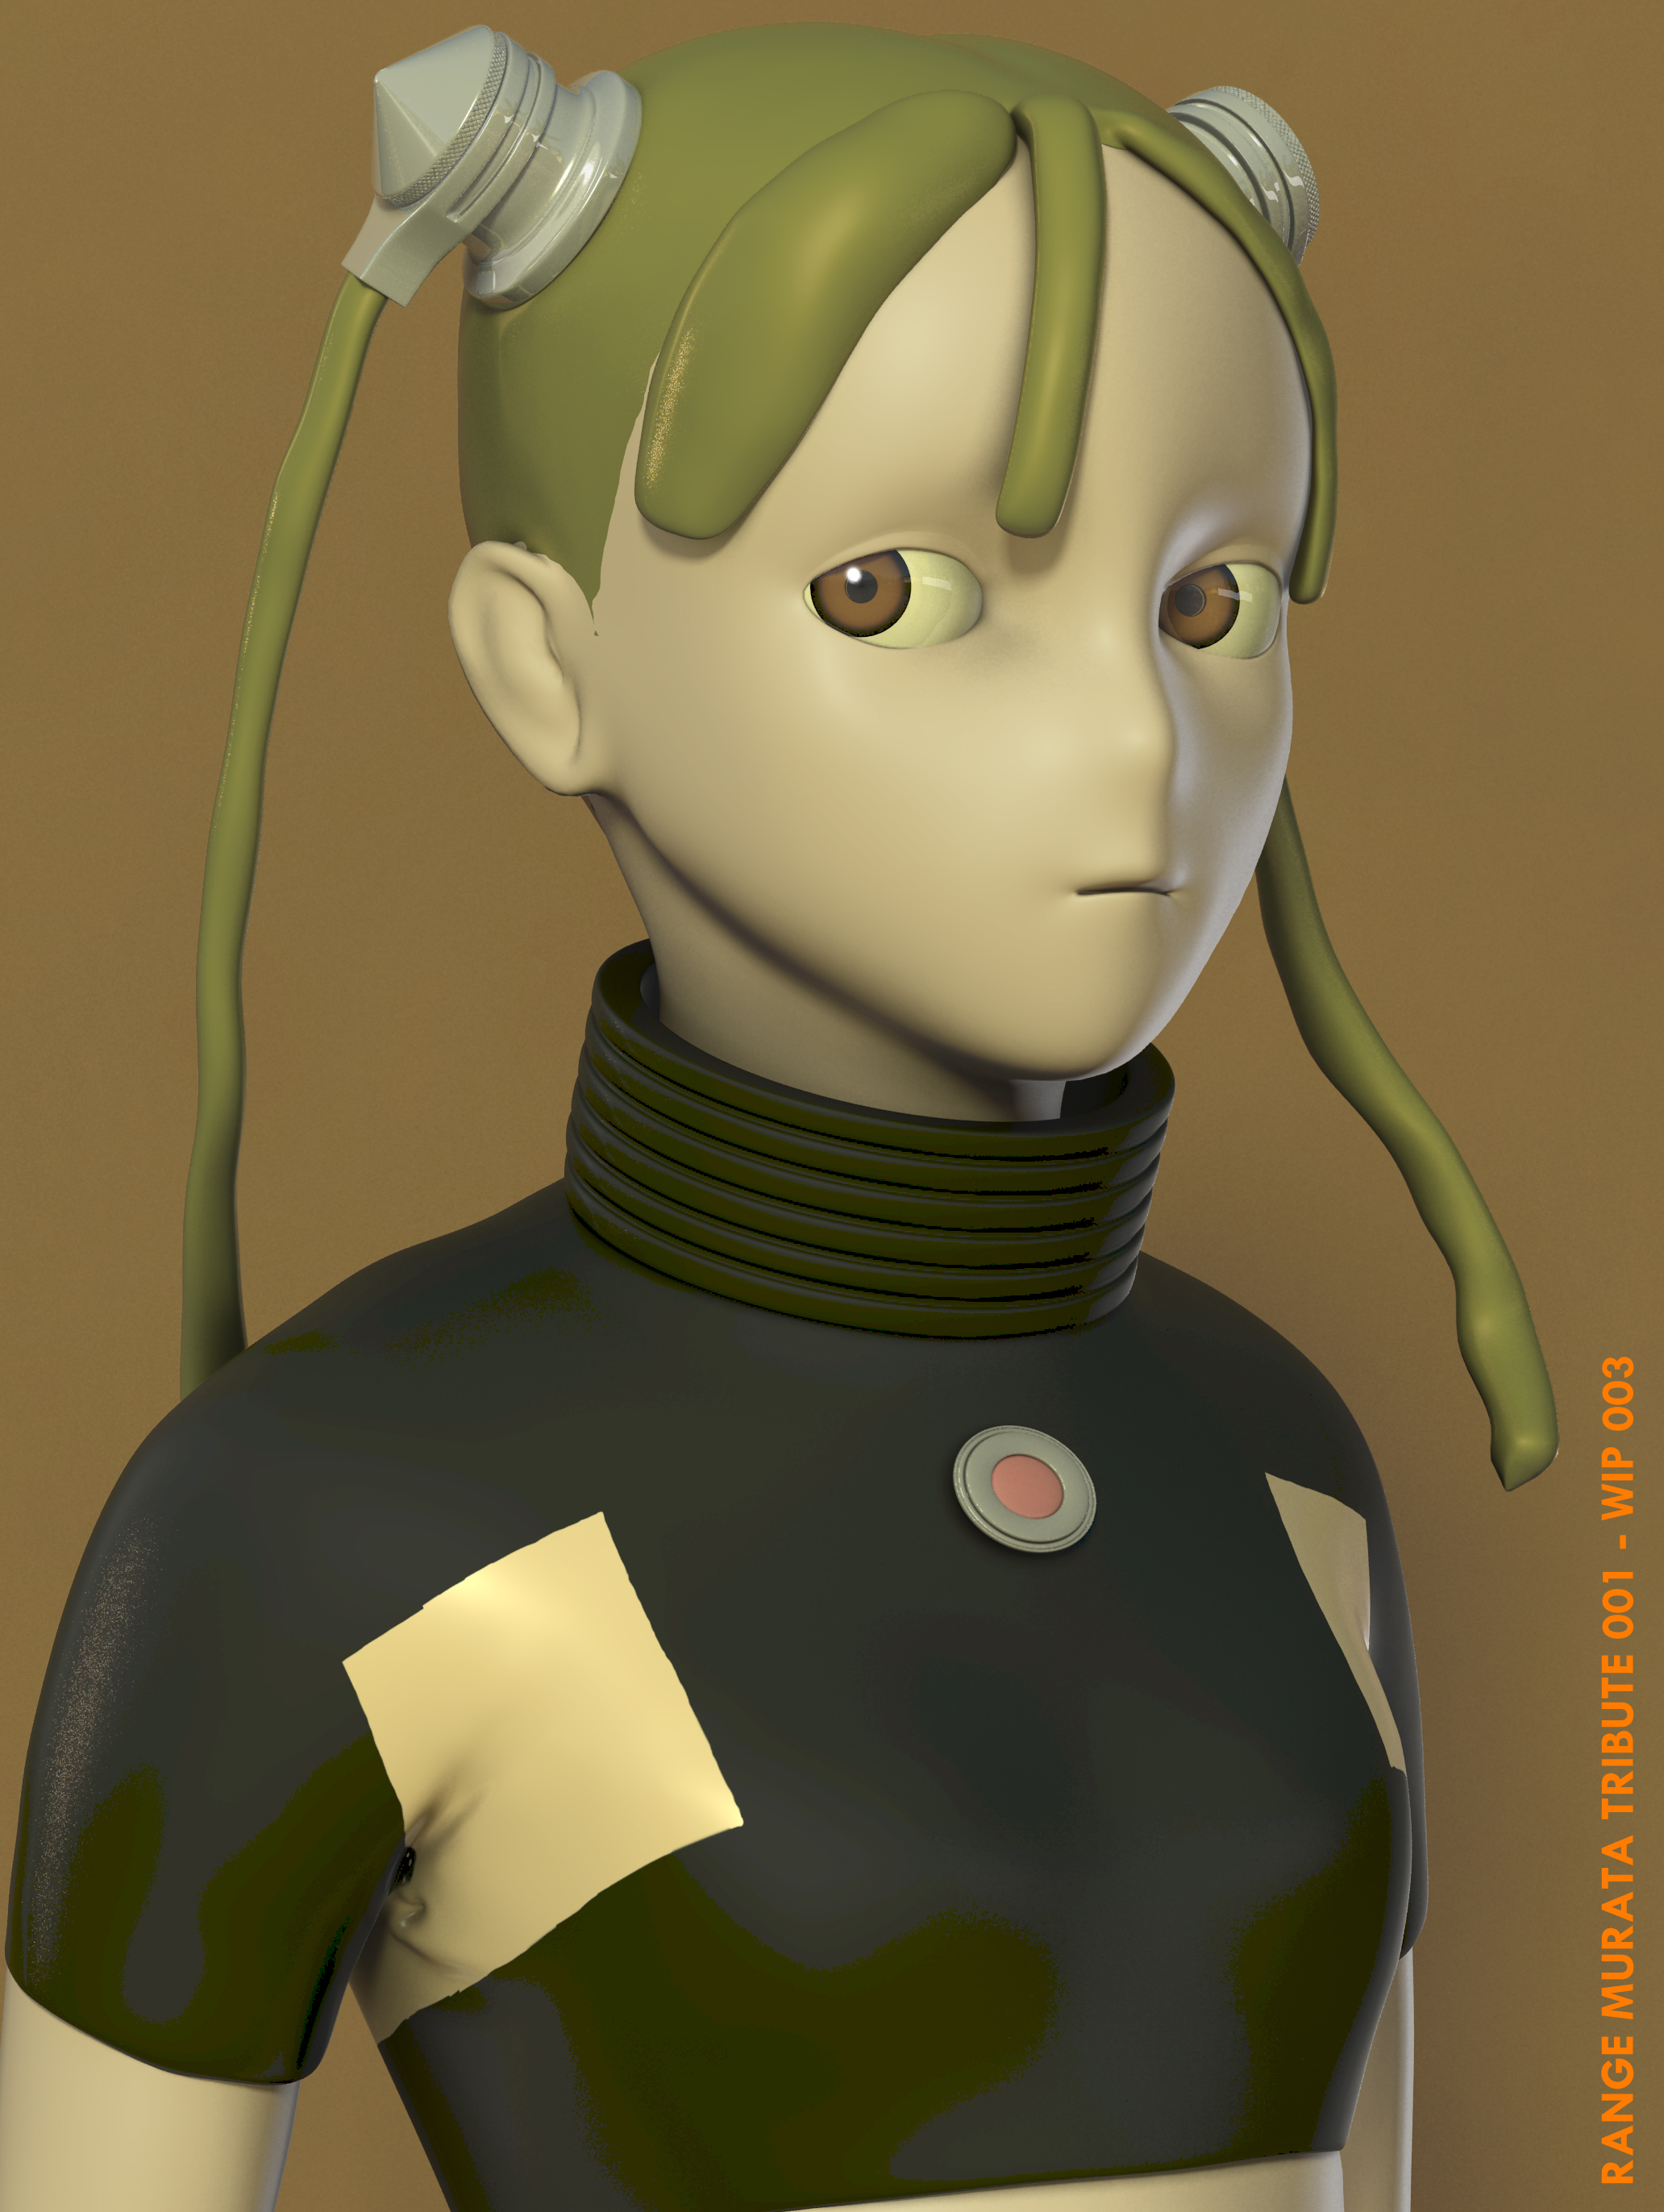
Range Murata Tribute - WIP 003

Enfin du temps pour avancer ce projet.

Je suis passablement heureux du déroulement des choses. J'ai encore une fois commencer les shaders et fait la lumière avant de faire du Zbrush. Je suis incorrigible.

Mais il me reste juste à faire ca du Zbrush alors.. Je prévois utiliser la technique de faire des masques par Alpha pour créer la plupart des détails, dont ses patchs de cuir sur elle.

Je vais peut-être même exporté les cheveux pour les travailler dans Mudbox qui a une brush bien meilleur pour le sculptage de cheveux: Il laisse un ghost du trait que tu es entrain de tracer. je trouve ca génial pour se guider sur une longue distance.

Biensur ni les shaders et l'éclairage ne sont finaux. J'aurais aimé travailler avec le renderer Arnold pour ce projet mais bon.. Mentalray on se connait bien. Pet-être le prochain projet, sinon Vray est en Betatest.. mmm

Aug 3, 2012

Range Murata 002: Wip 001 et 002

J'ai décidé de changer d'illustration pour mon hommage.
Tout simplement parce que j'ai un autre idée de projet et que je veux pouvoir finir celui-ci plus rapidement. Ce modèle élimine le besoin de faire une bonne partie du corps: Mains, jambes, pied, pantalons, etc.
Et les éléments sur elle sont simplistes.

Voici mon avancement:

Jul 24, 2012

Range Murata 001: Wip 004

On poursuit l'évolution du model.

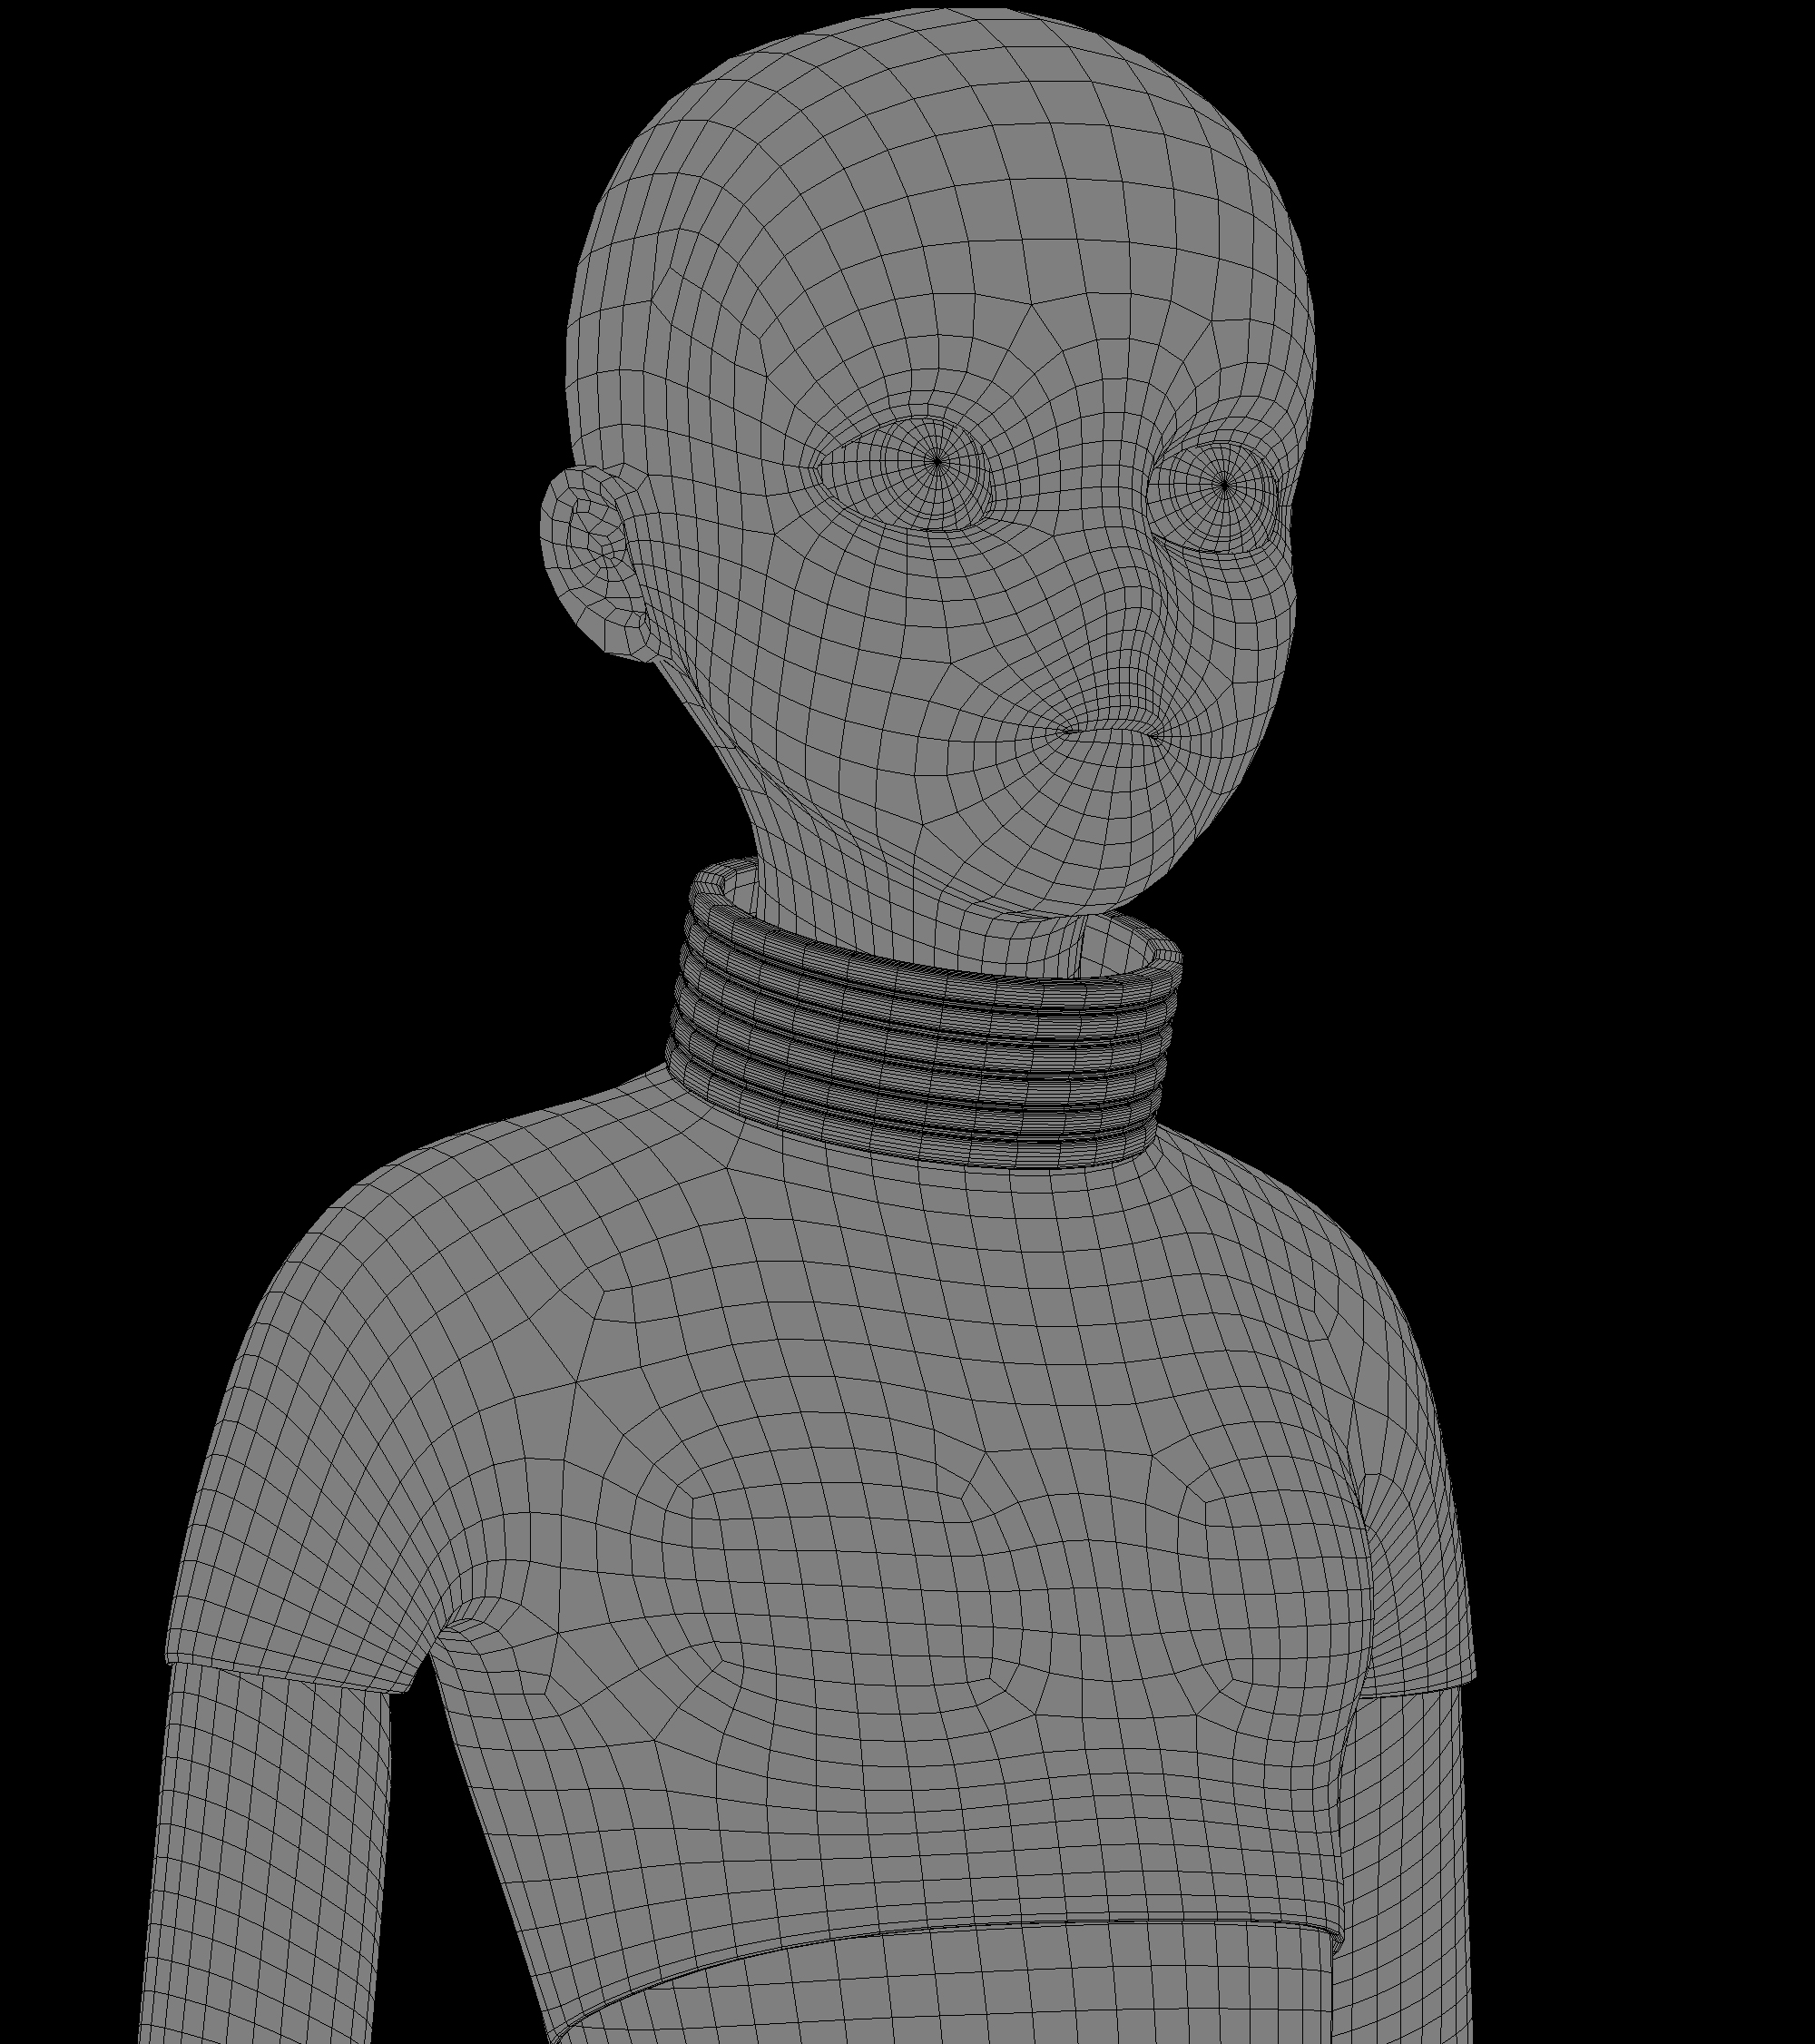
J'ai pensé modéliser des yeux flat comme certaine poupée manga que j'ai vu sur le net, mais j'ai finalement opté pour le classique: des balles pour les yeux.

J'ai quasi fini la tête.. Enfin la topologie. Je vais passer du temps sur la bouche, les yeux et les oreilles la prochaine fois.

Je crois garder le model final pour pouvoir réutiliser pour d'autres reproduction des oeuvres de Murata puisqu'il utilise quasi le même personnage pour chaque costume. Sinon bah un manga ça ressemble assez à un autre, tu change les cheveux et la couleur des yeux et voilà.

Jul 22, 2012

Range Murata: Hommage 01

Je suis un petit fan des illustrations de Range Murata.

Range Murata est un mangaka et designer japonais réputé pour son style unique consistant à mêler les univers de l'Art déco et de la japanimation pour créer des décors et des personnages. Plus connu pour  ses design dans Blue Submarine no.6 et Last Exile (une serie animée Steampunk).

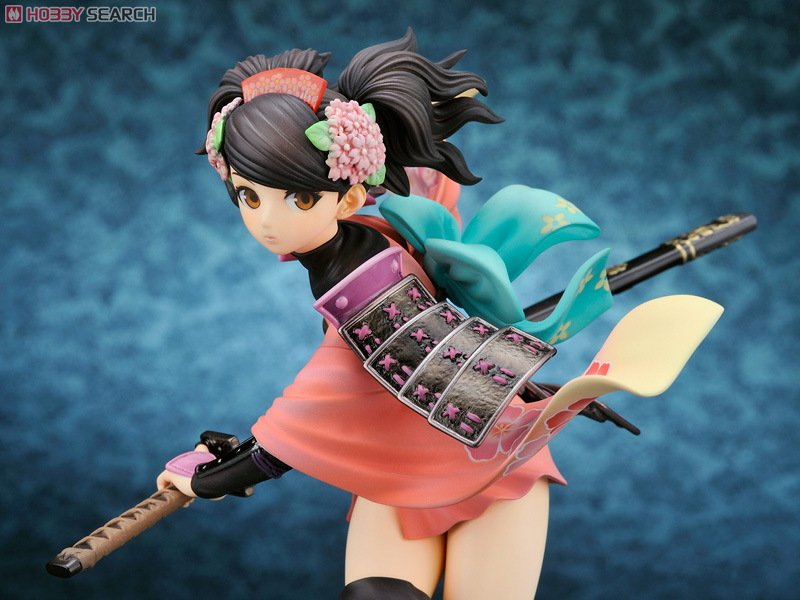
J'ai particulièrement accroché sur l'une de ses oeuvres:


J'en ignore son titre mais j'entend la reproduire intégralement en 3D. Encore une fois pour me pratiquer à la modélisation de personnage, mais surtout au shaders et à la lumière. Peut-être même je vais creusé le renderer Arnold pour Softimage.

Nous verrons.. Sur ce voici les premières évolutions de la modélisation: