 |
| WIP 002 |
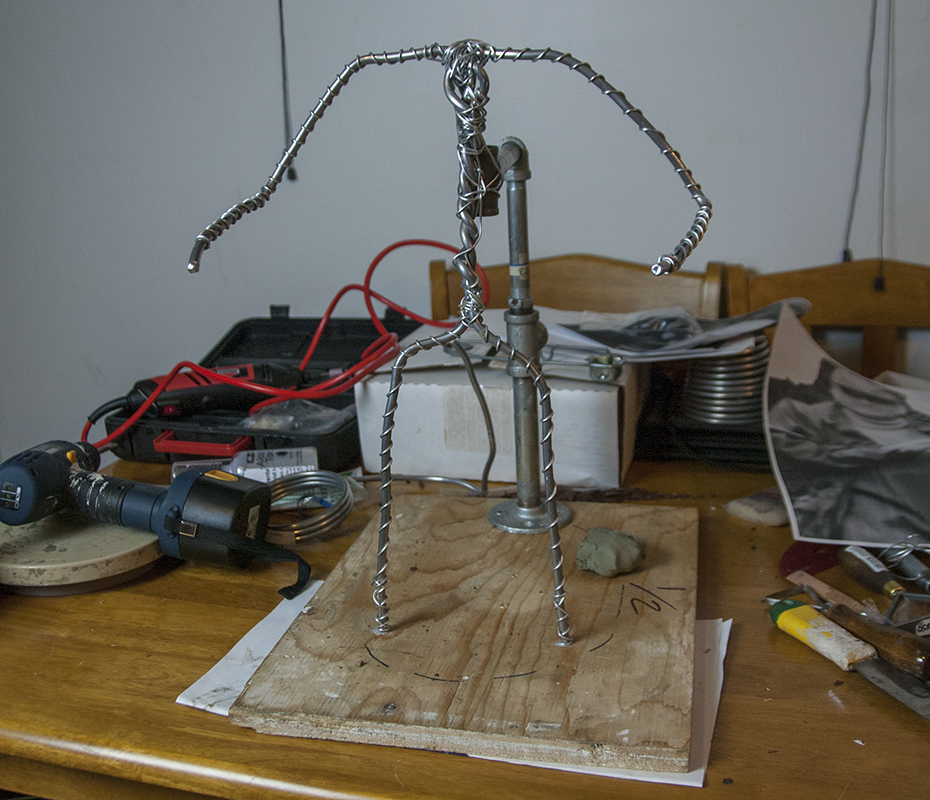
Finally, I'm ready to start sculpting. My armature is done, I have my NSP clay and I got my images of reference. I won't share to use the sketch yet, just for a tease eheh.
Maybe I could explain my workflow a bit: First the materials you need:
- Galvanized Pipes of various size
- Galvanized Pipes fitting (Flanks, adapters, etc)
- 1/16 gauges Aluminium Wires
- 1/8 gauges Aluminium Wires
- a Hand drill
- a Wire cutter
- a Wood plank
- 2x Locking pillers
For the pipes, I use to buy them in a Home Depot or a Reno Depot (I'm Canadian from Montreal, so maybe you have equivalent stores), but now I order online at Amazon supply. I find pretty much what I need there. As for the wires, you better buy from a manufacturer of clay, sculpting tools, etc, like me I go to Sial at Laval. They have silicone, wires, clays, plaster, tools. It's the paradise for sculptors.
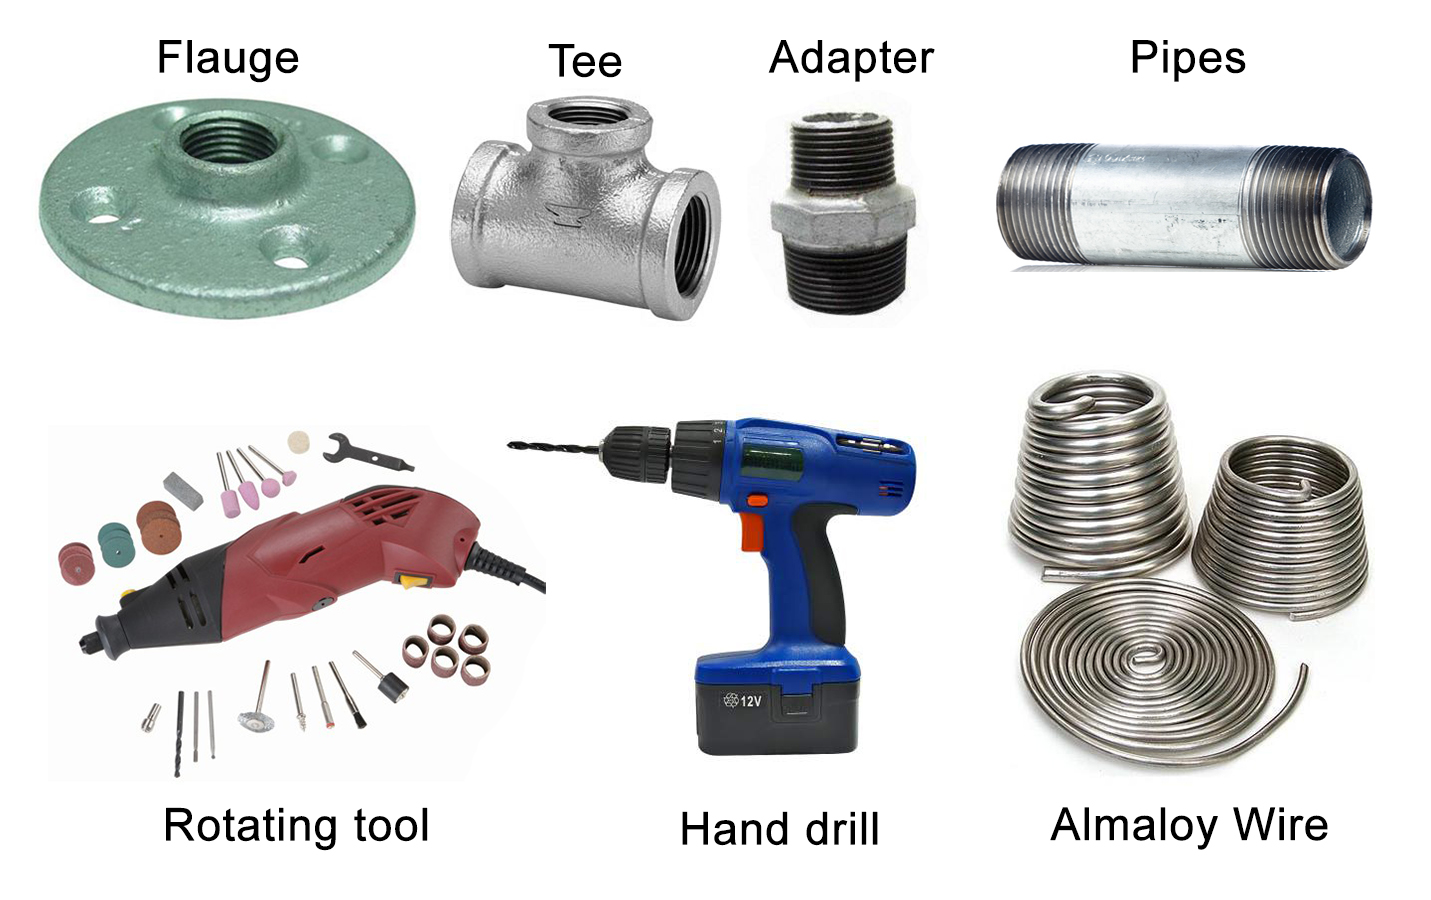 |
| Tools needed to construct an armature |
Many Youtube can help you to get the armature done. But basicly, you use the galvanized pipes and fitting to support you armature. You drill the flange in the wood and you dig two holes for the legs. You can fill the holes with epoxy so the armature is really glue to the base. The armature itself is a mix of wires. The biggest size for the main bones and you turn around that main with the 1/16 gauge, so the clay can grab well on the armature. Donèt drill too far like me and pass throw the wood plank. If so, use epoxy to fill the holes and put a paper beneath it so the epoxy don't stick to your workstation.
No comments:
Post a Comment